The tower base took a lot of planning because it had to be nice from up inside it (serving as a ceiling) and also a sold structure for shingles.
I started with a foam base shown here, then framed that with wood.
Then cut out another smaller piece of foam and framed that with wood.
Next I made a temporary foam box to place it onto to get my height.
Finally I drilled holes in the wood corners and bent wire to go in them and then tucked the other end inside the foam board corners.

I figured out the corner curve and cut pieces of poster board out. I glued the poster board to the wood frame and then wrapped it over the wire and glued it to the top. (I scored the top section of the poster board so it would be neat and square when glued)
Then I removed the foam box and flipped over the structure as shown below.

I glued in some scrap foaming material all around to get some height inside. Then slide in some cut pieces of card stock. (Blue wood was old scrap molding for a house I sold long ago. I love it when I can use up scrap materials!)

This is funny...I accidentally cut pieces of poster board instead of card stock to put on top of the existing paper and thank goodness because my plans changed with this thicker paper. Instead of tucking it in under the wood frame as planned, I glued the paper to the frame. (I couldn't tuck it without creasing it.) Shown below on the right is the first piece that went in.

This turned out better because this will be a ceiling and now there isn't a strange space up inside. I know this is confusing because the tower cap is upside down in the photo.
Anyway, below shows the ceiling looking up at you. I trimmed it with mat board and spray painted it.

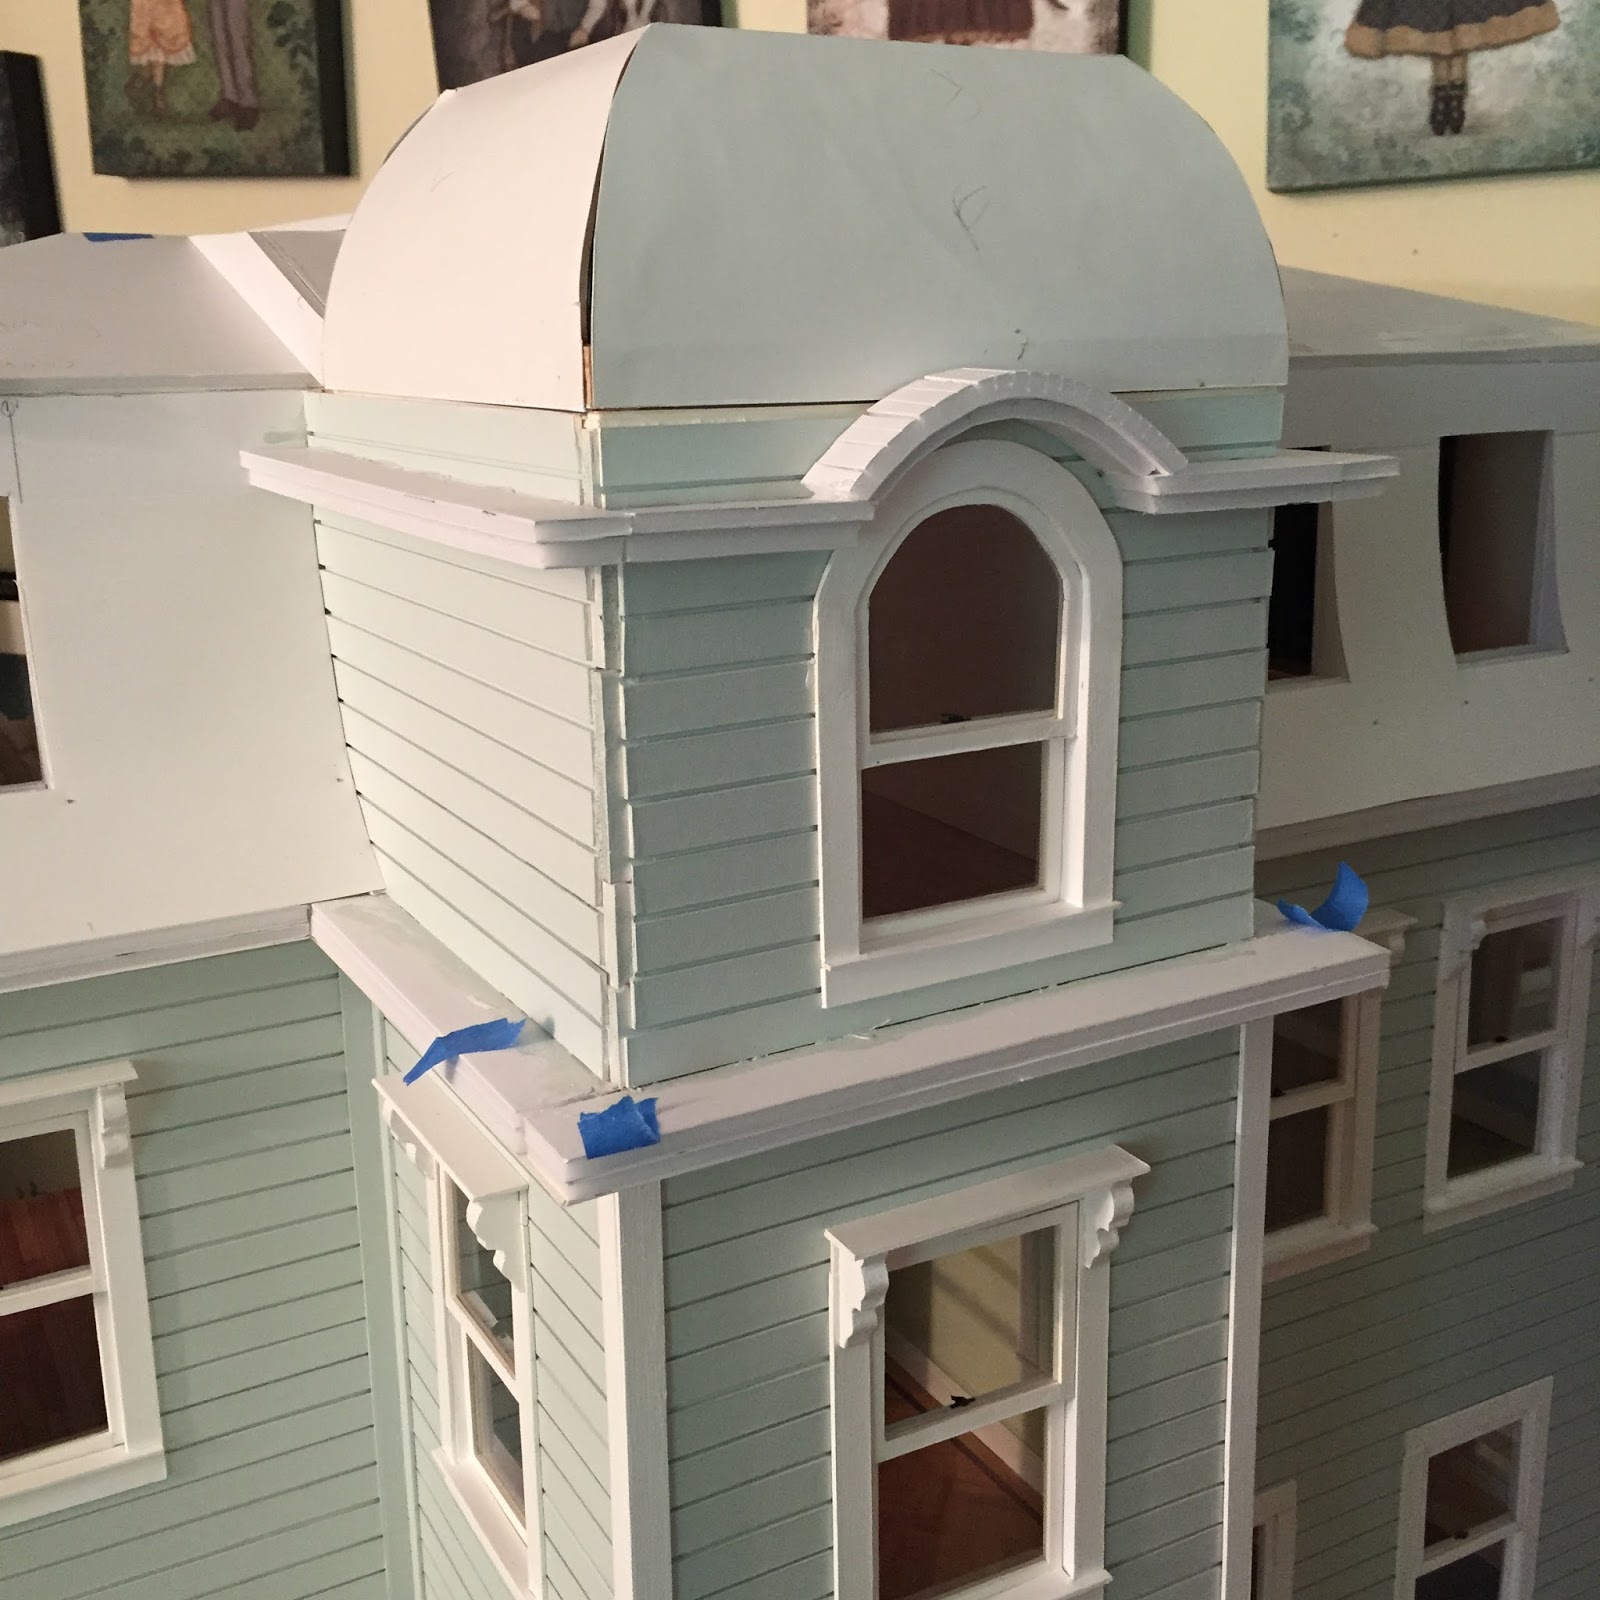
Here is the tower base in position. Shingles will cover everything from the top down to that ledge.
For the ledge curve I cut one side of foam board and bent it. Then glued two together to match the ledge.

Still have to work some things out here and then wrap with a few layers of card stock to get it smooth.

The tower top went much faster. I glued three pieces of foam board together in descending sizes.
Then determined my tower cap size and glued two together for that.
Then I built the box and glued the cap on top of it and glued the box to the tower base.


That base was the one thing that worried me about this entire build and I got through it!
Next I will start the shingling then add all of the trim detail on the roof and tower.
Thanks for your interest. As always I hope this blog/build inspires you!


0 comments:
Post a Comment