Making doors

I drew my design on mat board.

I used left over picture mats. I cut the inside bevel out and put it on the door panels.


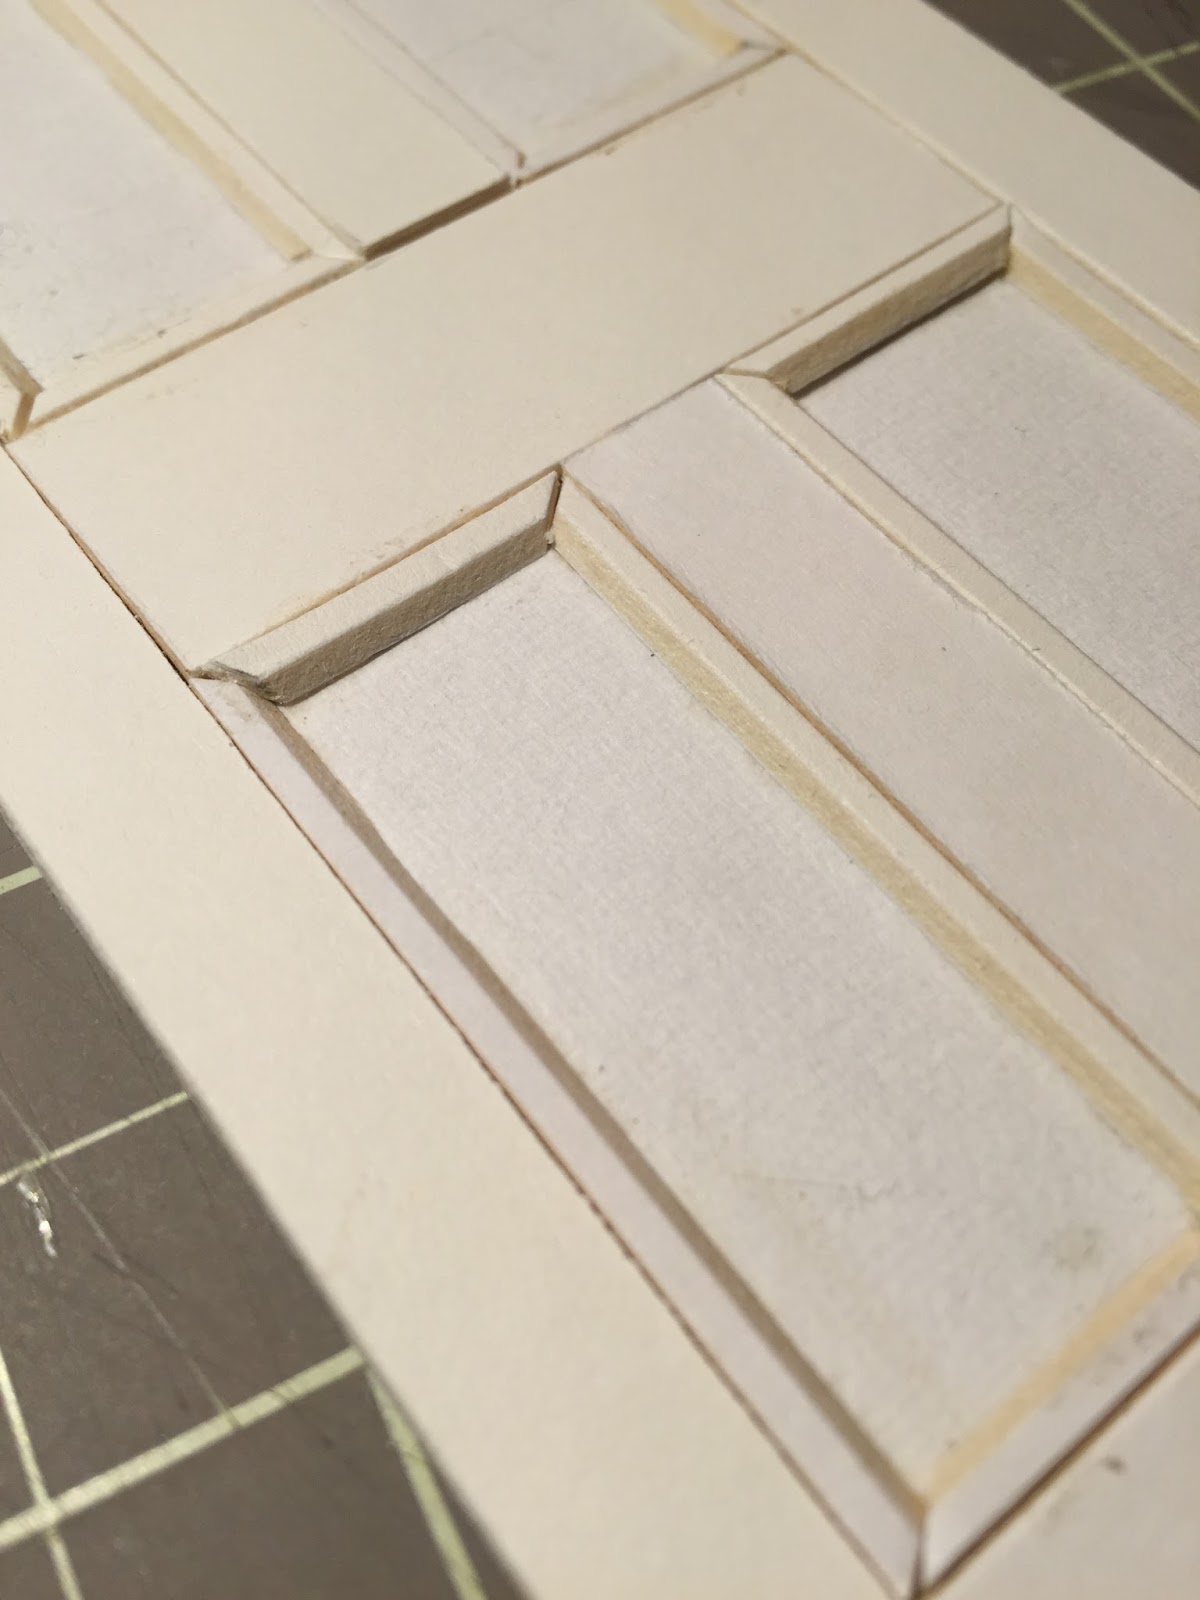
Then filled in the gaps the best I could with wood filler. Sand, paint, sand, paint and so on!
Make a dollhouse door hinge
See door hinge tutorial here.

Use wood glue to glue paper hinge on one side to your door. It's really important to be sure it dries completely before you go any further. But once it's tacky slip your finger inside the hinge and give it extra press down.
Put glue on the back of the hinge and slip a small piece of wax paper between the hinge. Be sure the glossy side is against the glued section of the hinge.

Put the door into the door hole and press the hinge side against the inside molding. This part is tricky and it really will depend on your door design and your molding design. Use a wedge if needed until the glue has set. I use toothpicks here but folded paper would be better so you don't leave an indent from the pressure.


The stained glass inserts were a lot of steps.
Basically I used acetate film that has a matt and glossy side. (I have a vintage stack of it not sure what it is, 8.5 x 11 transparency film maybe?)
Trace design lines in black on the matt side (I think, now I can't remember). Then use what ever maker works for color on the gloss side. I used Golden medium gloss for the texture and Golden medium matt for the white. Then I put it behind a thicker piece of acetate.


Put the door into the door hole and press the hinge side against the inside molding. This part is tricky and it really will depend on your door design and your molding design. Use a wedge if needed until the glue has set. I use toothpicks here but folded paper would be better so you don't leave an indent from the pressure.


I had one hinge that didn't take when I used three on my side door shown below, so I had to just leave it because the other two were still attached. So for the rest of my doors I only used two hinges.


Oops this was my first door. As you can see the hinges are suppose to be on the inside! Pay attention before you put your doors in Auralea!
The front doors were very involved. There was a lot of trail and error so I didn't take too many how-to photos.


The stained glass inserts were a lot of steps.
Basically I used acetate film that has a matt and glossy side. (I have a vintage stack of it not sure what it is, 8.5 x 11 transparency film maybe?)
Trace design lines in black on the matt side (I think, now I can't remember). Then use what ever maker works for color on the gloss side. I used Golden medium gloss for the texture and Golden medium matt for the white. Then I put it behind a thicker piece of acetate.

They are close to how I wanted them. So I think I will find a way to be happy with them.
Now onto the front door roof over-hang with fancy brackets!