
I am sharing this just incase someone out there needs lots of circles with some depth to them. I came up with a fairly easy way to make custom ones from paper.

After I determined the width I needed my circles to be as well as the inside circumference I wrapped/glued paper around a wooden dowel. This paper is called quilling paper and you can get it at craft stores in many colors.


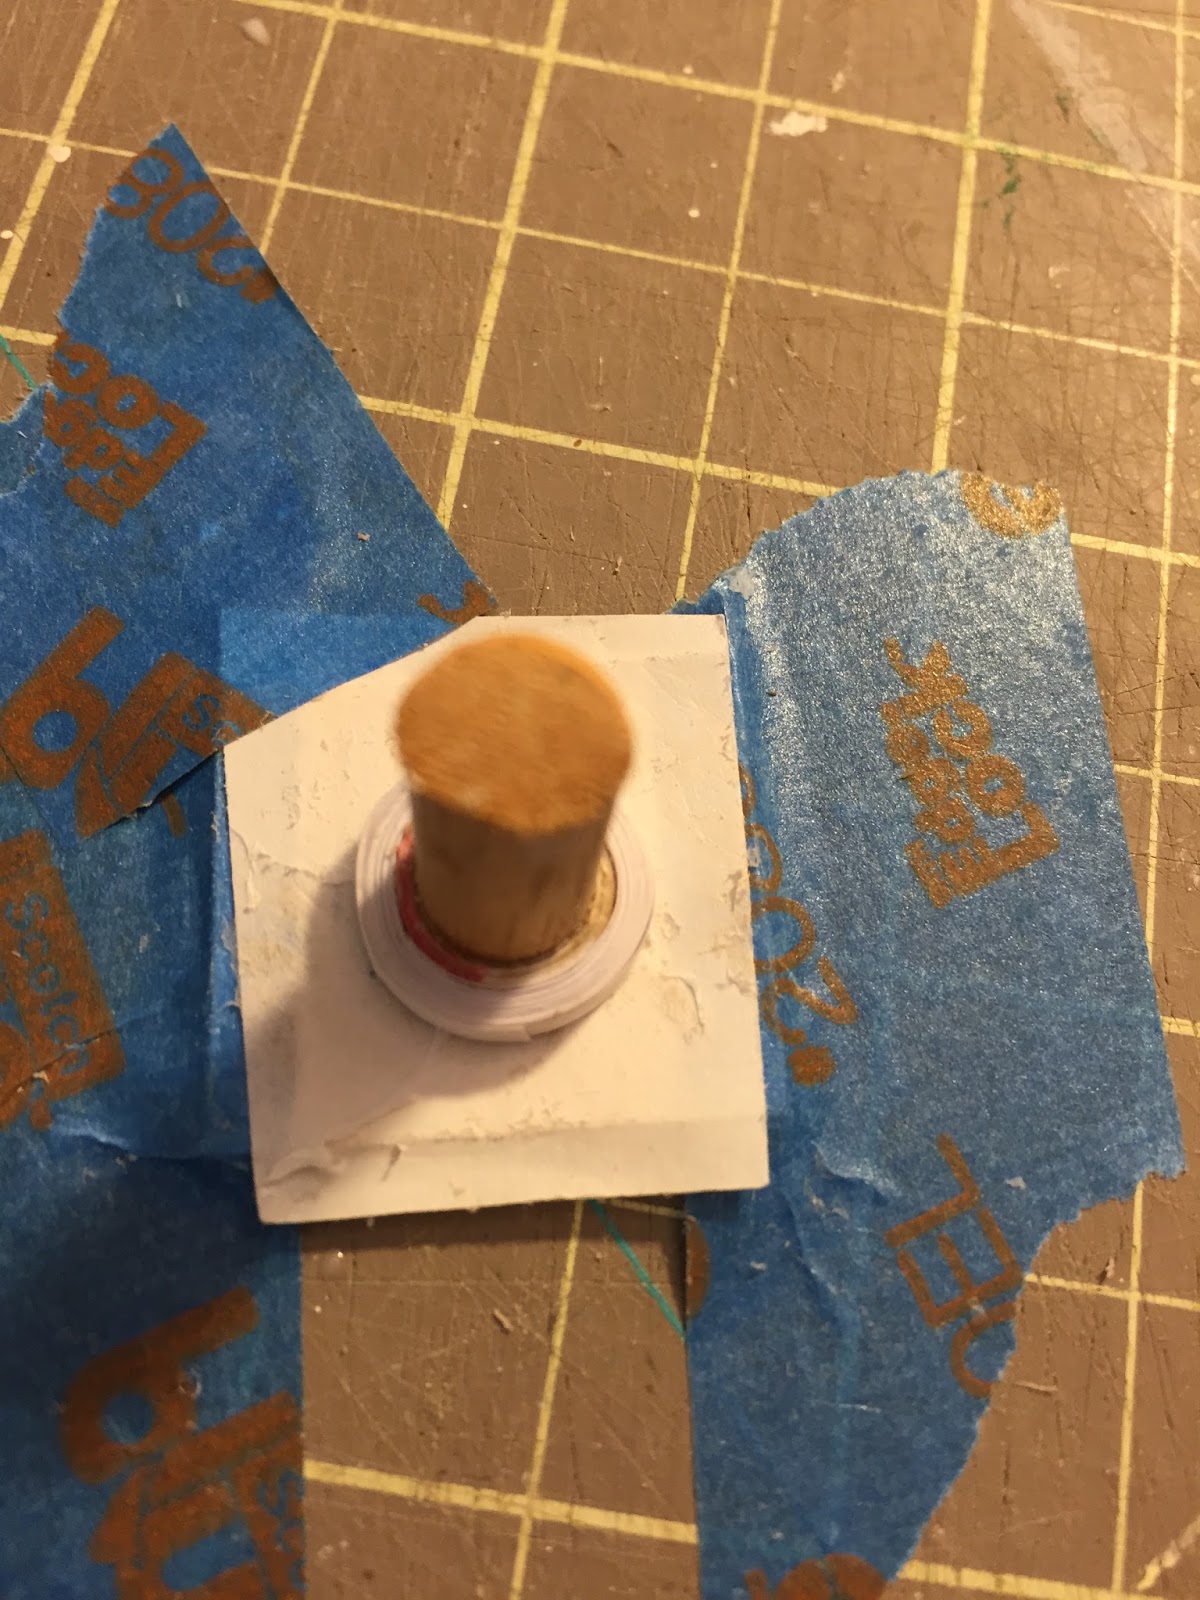
I cut a square piece of mat board and then cut a hole in the center of a piece of wax paper. Then put the wax paper on top of the mat board and super glued the dowel to the mat board through the hole.
Then I used tape to secure the mat board to the cutting board, plus any parts of the wax paper that had curled up.
I did a few tests to determine how many pieces of quilling paper I needed to get the thickness I desired. Then glued them together as needed with wood glue.
Shown above is the start of making my first circle. Run the paper over your nail between your fingers to get a slight curl. Lay the end flat on the table and put a tiny bit of glue at the end on that one side.


To start, use a toothpick to help keep the paper flat to the wrapping template (The dowel glued to mat board) and then wrap the paper around it so it sticks to itself. DO NOT glue the strip to the wrapping template. The glue you put at the end of the paper will be on the outside when wrapped.
As you are wrapping, put tiny dots of glue along the inside of the strip of paper and wrap and push all around to be sure it is staying flat to the wax paper. This will go faster once you get the hang of it.
I put my wood glue into an empty Elmer's glue bottle to get the better nozzle, Keep your glue nozzle barely open to get small dots.
Keep wrapping and pressing then add more dots and wrap and press. Once you get to the end put glue at the end of the strip and wrap and press all around the sides of the circle to secure. Immediately slip your nails under the circle and wiggle it off the wrapping template.
Lay flat and press under a piece of mat board. If it looks like it lost the circle shape then slip your knife or needle tool handle inside and press while rolling it.
Whip of the wax paper and wrapping template to be sure no wet glue is there and make another. I found it best to only make 3 at a time and give any stray glue on the template time to dry. Otherwise your circle will get stuck and be ripped apart when you try to remove it.


Once dry, sand it on both sides with fine sandpaper.


I built my rails upside down. Not shown, but I braced the bottom rail (shown as the top in the above photo) against a long flat surface (sharpening stone shown above) and glued each circle to it with a strip of mat board in between. Then added the corner posts and the top rail which is wider than the bottom.

I made the smaller one shown above first and hand-painted it. Very difficult to get in all the crevasses. So for the longer one I used white spray pant and only hand-painted the top rail.


This is a great way to make circles for anything you need around the dollhouse!


WOWEEEEE!!!! Your porch trim looks EXCELLENT and your method for making the circles is Awesome!!! ♡
ReplyDeleteHa! You are so great at finding ways to make every day craft supplies into something gorgeous! They look awesome, Auralea!
ReplyDeleteWhat a wonderful idea! The porch trims are just fantastic!
ReplyDeleteThank you ladies!!
ReplyDelete