Because I was trying to keep my budget very small I decided to print my own wood floors. In real life you can’t see gaps between planks and the same with a 1:12-scale print out.
First I selected a seamless pattern image from the Internet. In some cases I couldn’t find one so I had to make alterations in Adobe Photoshop. Once the files was ready I filled the floor space measurement with the pattern.
I will be showing how I did this using my Kinfeld hall floor as an example. This was the most difficult because room because I added a border all the way around as I did for the dining room space and this room had the stair hole in it.
I carefully measure the space and set my computer file up as such.
Photoshop has a “layers” option so I built the floor up using that feature.
First I pieced together a herringbone pattern then I added the dark wood trim and the planks outside of that.

Then I printed it out on two legal sheets (my printer won’t go to 11x17).

Then I coated it with a water soluble satin varnish. Because this is an ink jet print it will smear when it gets wet. You can spray it with a fixative (like one that is used for charcoal drawings) if you like, but I just went for it.
I made fast brushstrokes keeping the varnish thin with no thick streaking. Once dry, I took my time and did a complete coverage with a second coat and let it dry.
I cut to piece it together along the wood pattern lines. So the cuts were between the planks.

I used Yes paste to adhere it to a very heavy water color paper. For the downstairs dinning room I adhered it to mat board.
Yes paste is tricky when you have to butt join two piece together, so practice first. I use this adhesive for my mixed media art because once it’s down and dry it won’t peel up over time.
Scoop a credit card in the jar and spackle it down over your paper in a thin layer. Be sure to go over and off all the edges. If it does peel it will be because you didn’t hit the edges.
Burnish it down with a credit card over a pice of wax paper. I place a sheet of wax paper and heavy books on it over night.

Once it’s dry and flat, trim out the watercolor paper with the floor print on it and placed it inside the house using more Yes paste or wood glue. Lay wax paper over it and burnish it down with a credit card. Lay something on it as it drys to be sure it’s flat.
I had some white showing through a section of the join so I used some pastels to cover it and varnished over that.

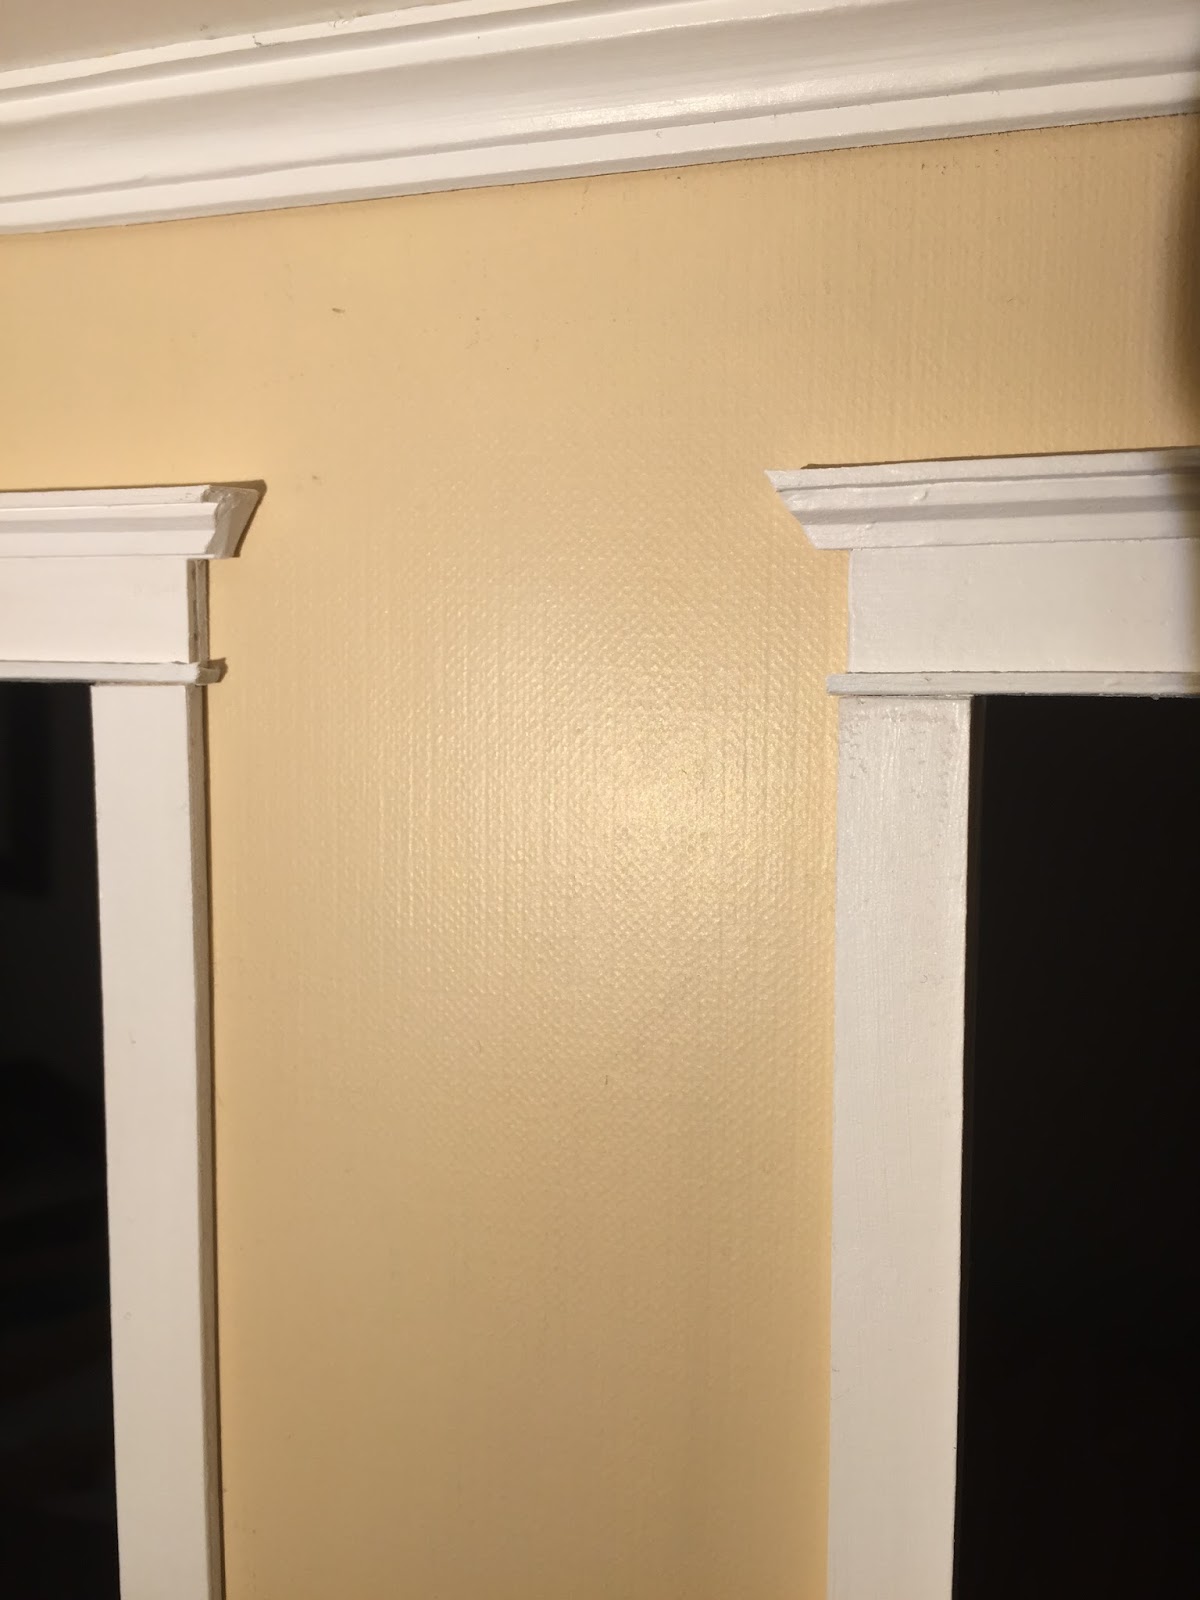
Walls
If you are building a foam board house you will need to adhere something to the wall verses simply painting it. This is because, depending on the paint, the paper covering the foam may ripple. Also because the corners may not be neat and flush depending on the way you built the house.
I used a few different types of paper as I experimented. The first was thick watercolor paper. I needed a long sheet to fill my walls so there wouldn't be seams, so I used a 50% off coupon and bought a big pad of it.
I also found a cool paper called canvas paper. It is lighter and easy to work with. They both take paint nicely. Once you paint them and it’s dry lay heavy books on it to flatten.

Above it the texture of the canvas paper. I used the side with the least texture.
Below is the texture of the water color paper.

Use Yes paste as explained in the floor post and adhere it to the walls.
Trace and cut all your window and door holes before you glue it in.
Below is canvas paper being prepared. The end is folded because each corner needs to overlap under the next piece so you don't have a gap.

You can see some rippling below. This is why you need to place a heavy book or lap top in it over night.

This is the finished master bedroom. I printed the patterned wallpaper on the right on regular copy paper and sprayed it with a spray adhesive on the back of it and put it up.


Totally dig this carpet! It is upholstery fabric. Joann has some great sales, so check in there between seasons. I also got 5 of those sample upholstery books on clearance for $5 each! About 10 square samples in each book. Gold!
I hope some of this helps. As always, get in touch if you have any questions. :)


I really like your idea about the flooring. I will be trying that in my next room. Where did you get the canvas paper?
ReplyDeleteHugs
Diane
http://myminiaturesjournal.blogspot.com/
Hi Diane, I got it at Michaels craft store with a 50% off coupon.
DeleteThank you for sharing your ideas. I plan on using them in my unfinished doll house.
ReplyDelete