
The basics of this idea I got from Kris Compas who is really amazing when it comes to making furniture with these materials. You should check her out: http://1inchminisbykris.blogspot.com/
I found a sofa on the Ethan Allen website that I felt comfortable transforming to miniature for my Kinfeld dollhouse.
After thinking about it I decided to make the cushions first to determine the correct framing for the couch. I made the framing first last time I attempted a couch and everything was out of proportion. So I thought this would be easier for me personally.
We all have our own way of thinking and creating so I think it helps to stay flexible and go with what you know.
I used a Heidi Ott doll to determine my measurement. Don’t forget to use the room you will be putting it in as a guide too. Smaller room = smaller sofa!
Seat cushions
Cut 4 pieces of foam board to 2 7/8 x 2 1/4” . Glue the 2 pairs together.


Cut foam (two the same as above and two at 2 1/4 x 1 1/2”) and glue to board. Small first then large on top. Let dry.


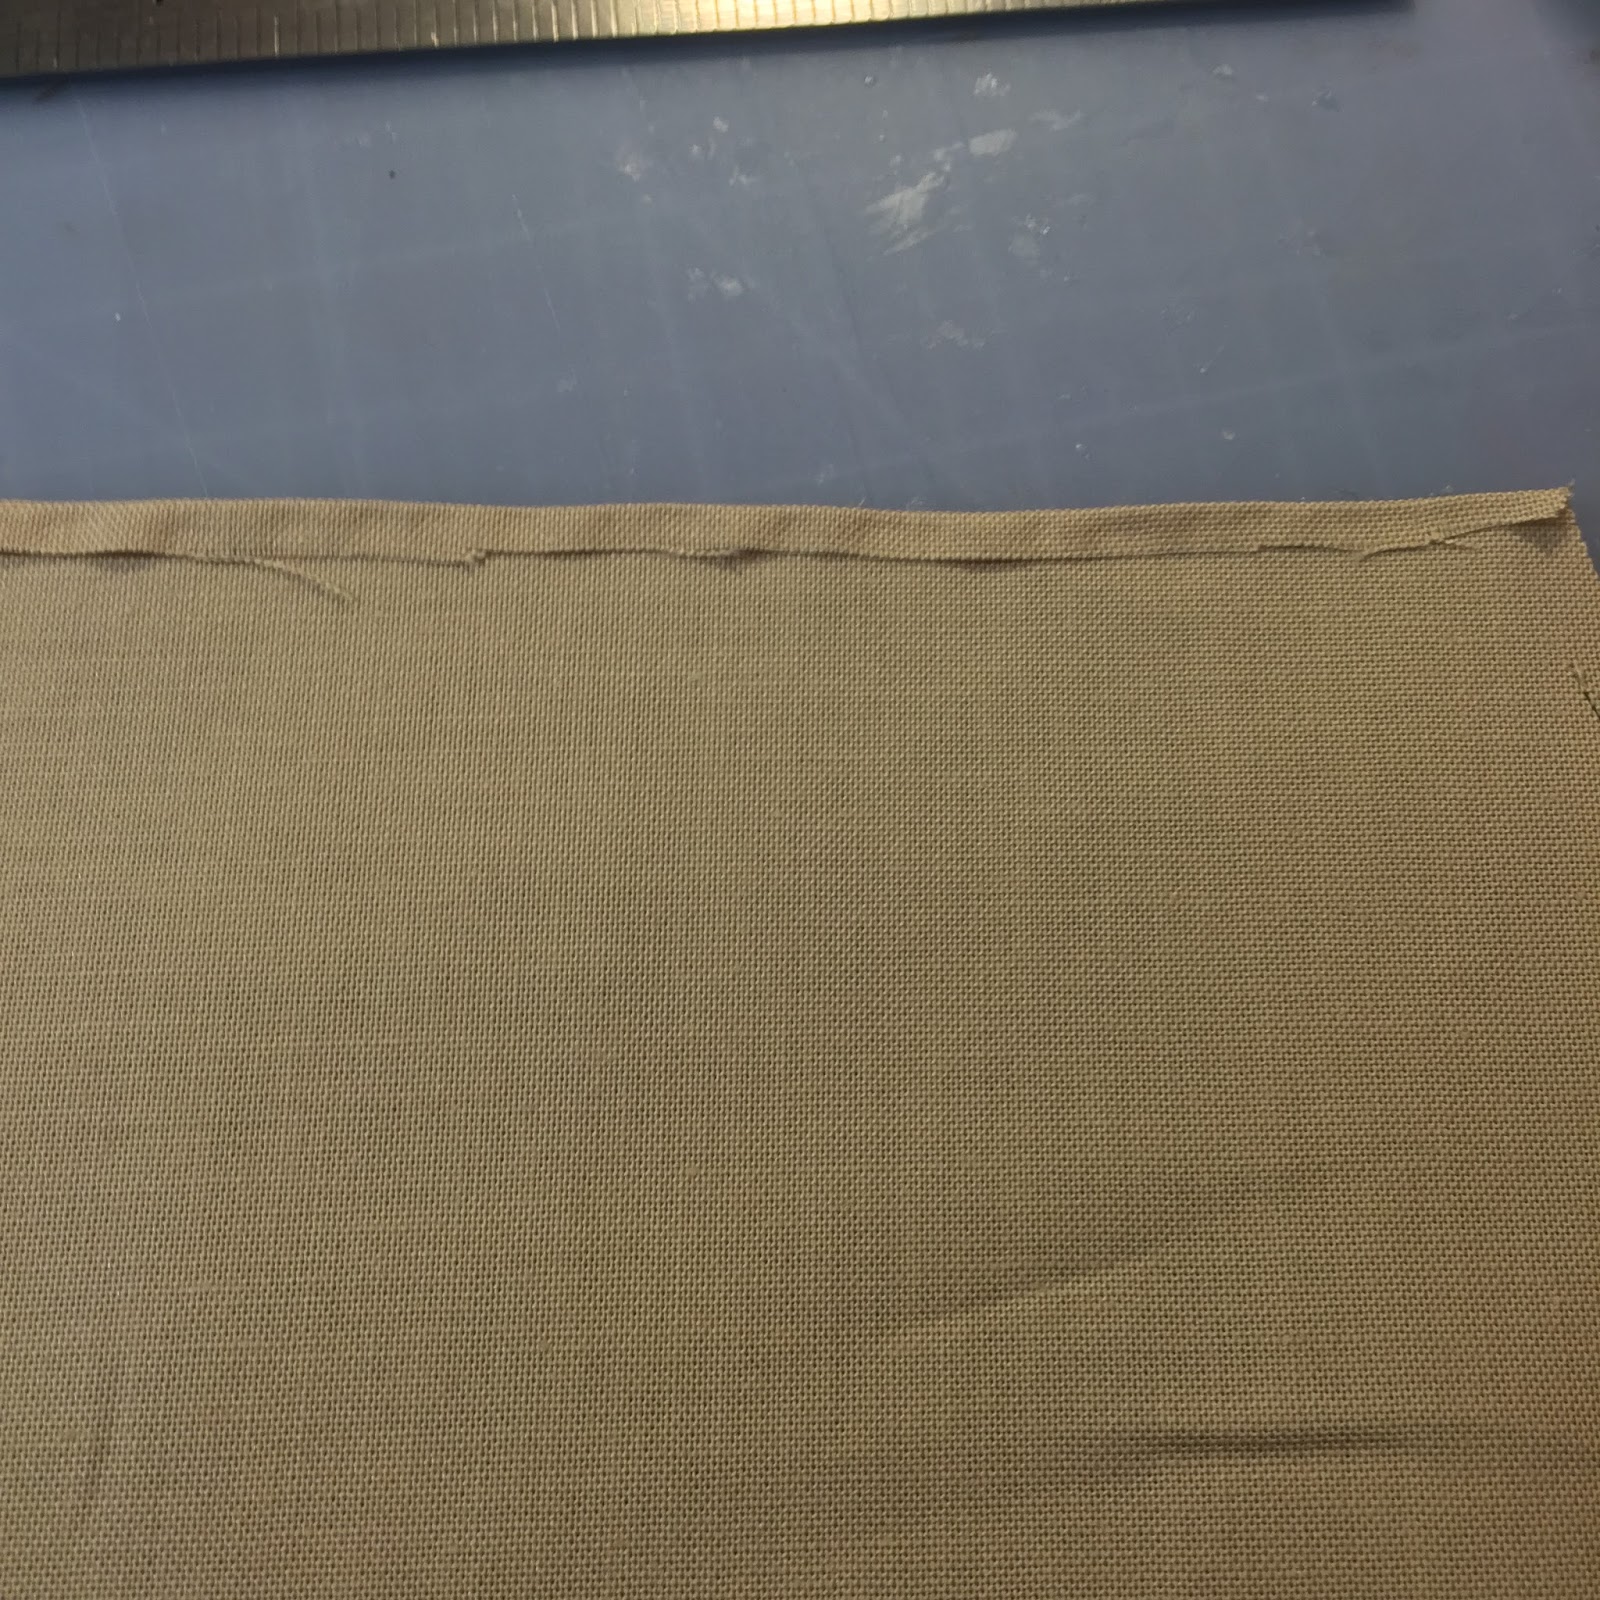
Glue material to back. Not too tight. You want a smooth cushion with a rise in the center.


Cut 2 strips of card stock paper to 7/16 x 7 1/2”.
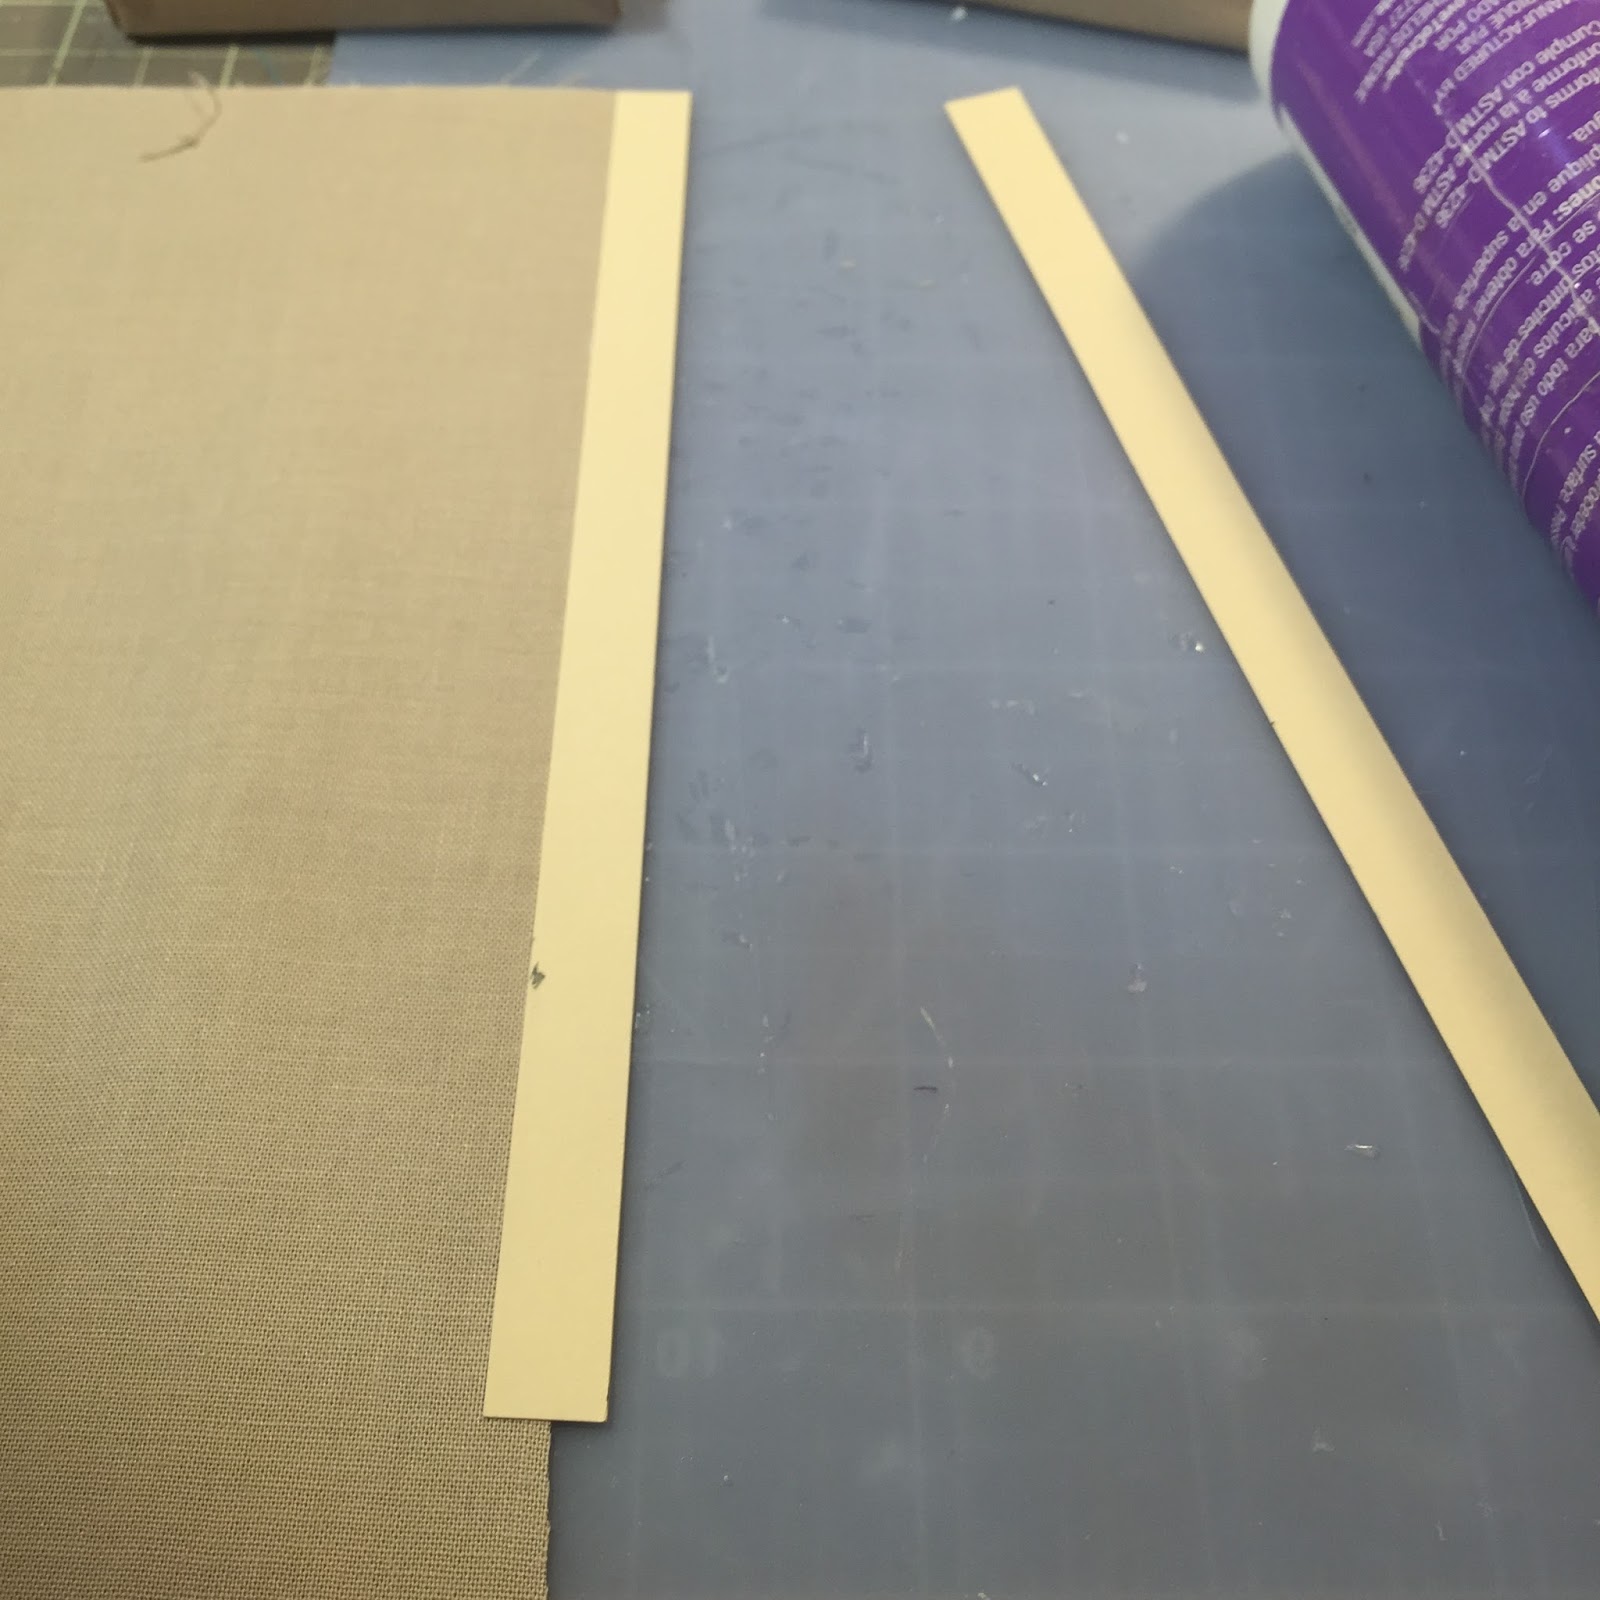


Glue to material as shown. Run glue along the edge of the fabric and lay the strip on top, press down. Fold over and put glue down the strip as shown and fold over. Press and let it set for a few minutes then trim off the extra down the center of the paper strip.
I first put the glue on the front of that trim strip but I didn’t smooth it out enough and the material puckered so I prefer no glue on the front, only on the back as I just did. You do what is easiest for you.
Glue the trim around the sides and front of the cushions.


Back cushion
Cut 2 foam board pieces and two foam pieces to 3 x 1 13/16”.
Cut 2 foam pieces 2 1/8 x 1 1/2”.


Sharpen that blade on your sharpening stone! I have saved a lot of money on blades since I started doing it this way. :)
Trim foam board as shown. On the second one I made I rubbed the top of the back cushion on the corner of my desk to get a slight indent. Might help it look more realistic. Your call.
Glue foam onto board. Small then large on the front of the cushion and one large on back.


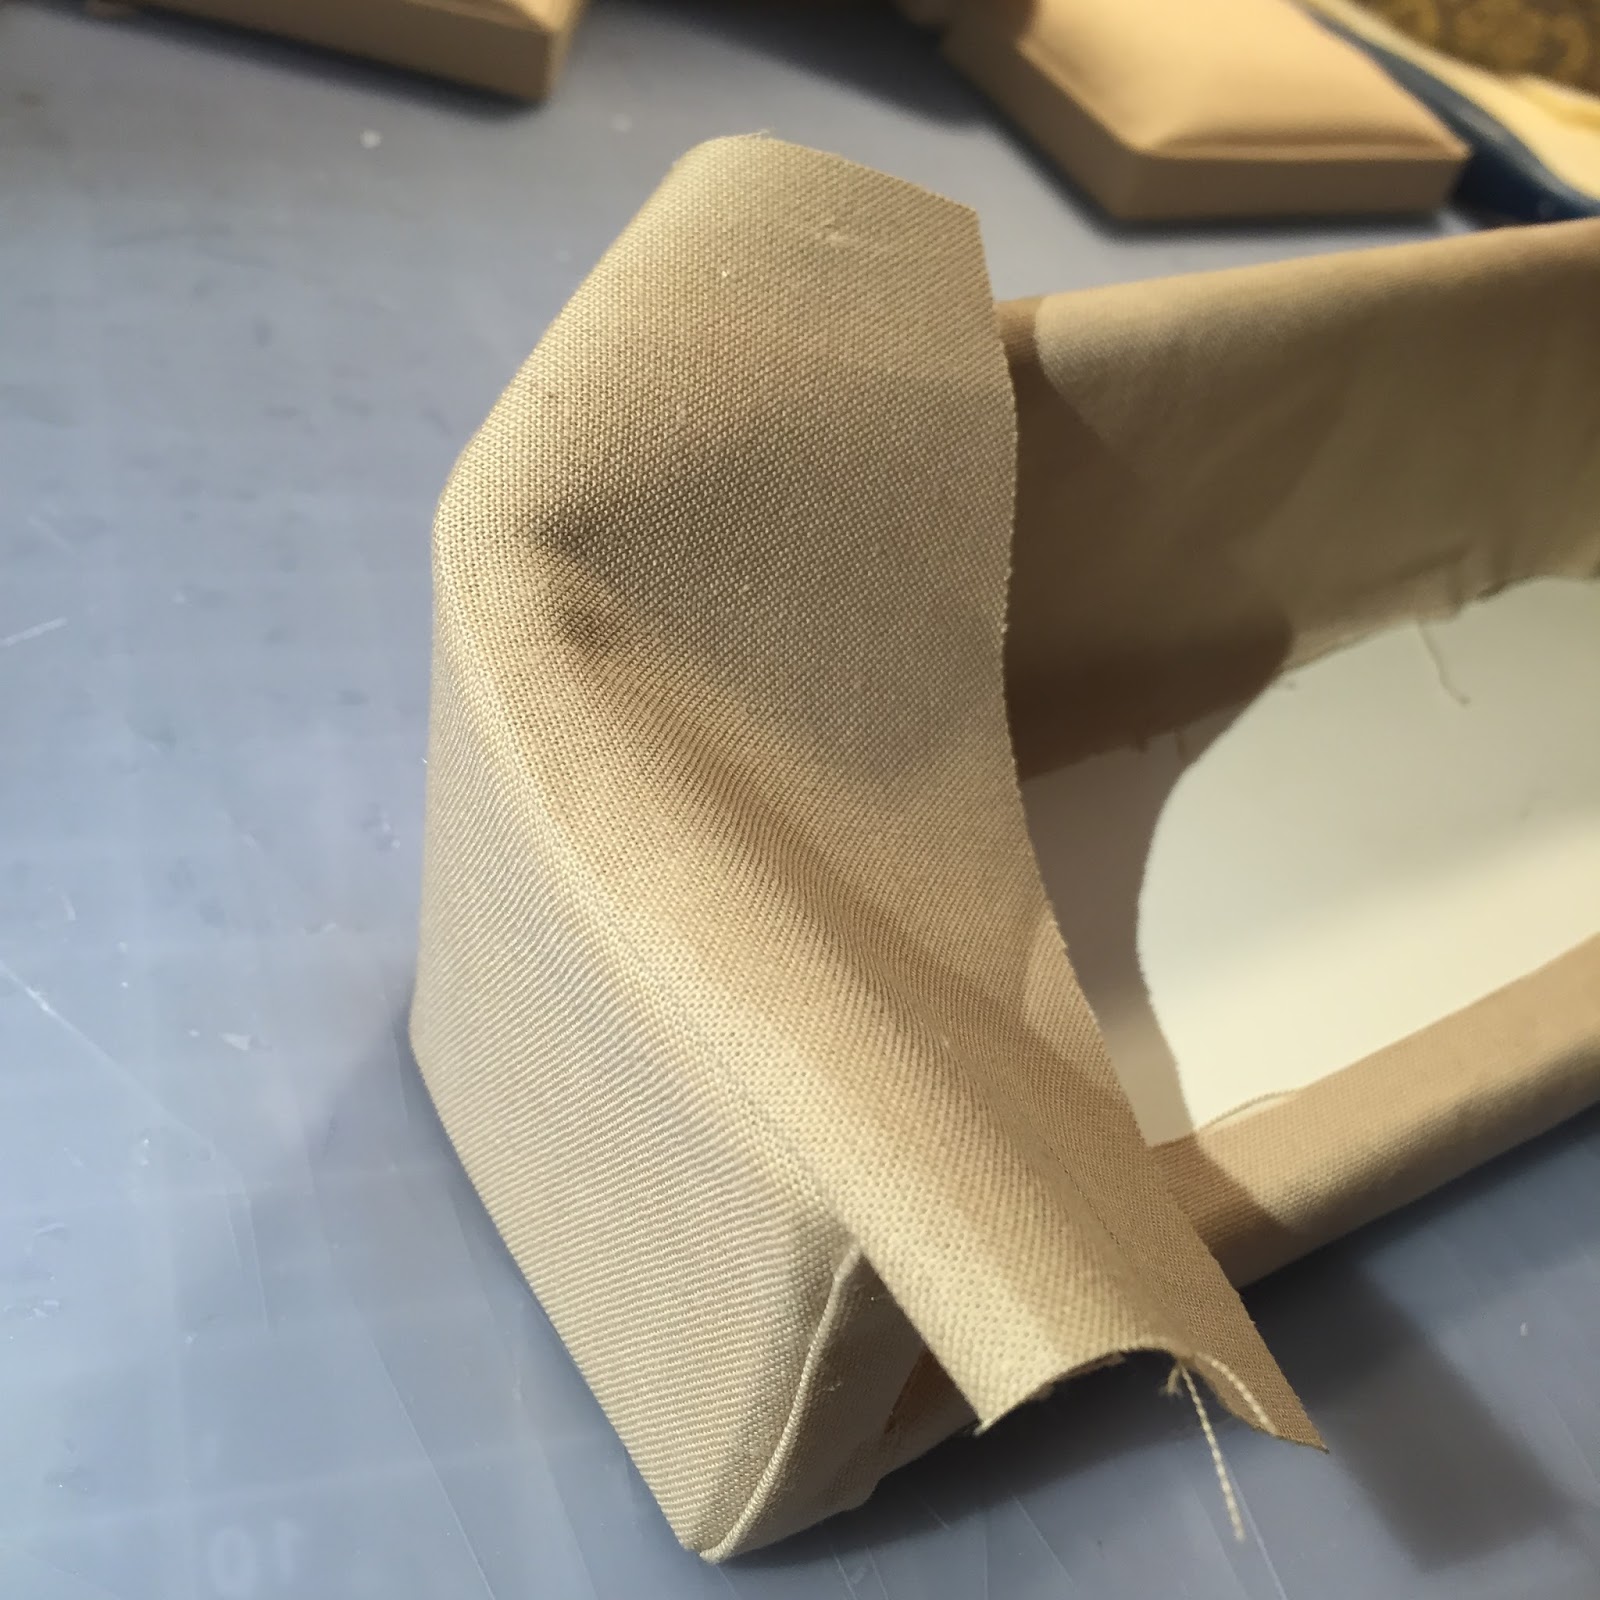
Cover with fabric as shown. Front first.


Glue the back on.


Run glue along the straight edge of a 10” long piece of fabric.
Fold over about 1/8”. Trim fabric as shown.
More glue and fold again to have a 1/4” strip. Press with fingers.


Glue around back cushions edge. I didn’t use paper in this because it looked too stiff for a back cushion/pillow.

Take a break!

The couch frame
Cut two pieces of foam board at 6 3/4 x 2 1/4” and glue together. Round the corners. I rubbed mine on my board to smooth out.


Cut out two notches on the side for the arms. Glue gun in the sides (1 5/8 x 1 3/8” tall).


Use this diagram to cut your back template from a cereal box. Length is 10 7/8”.

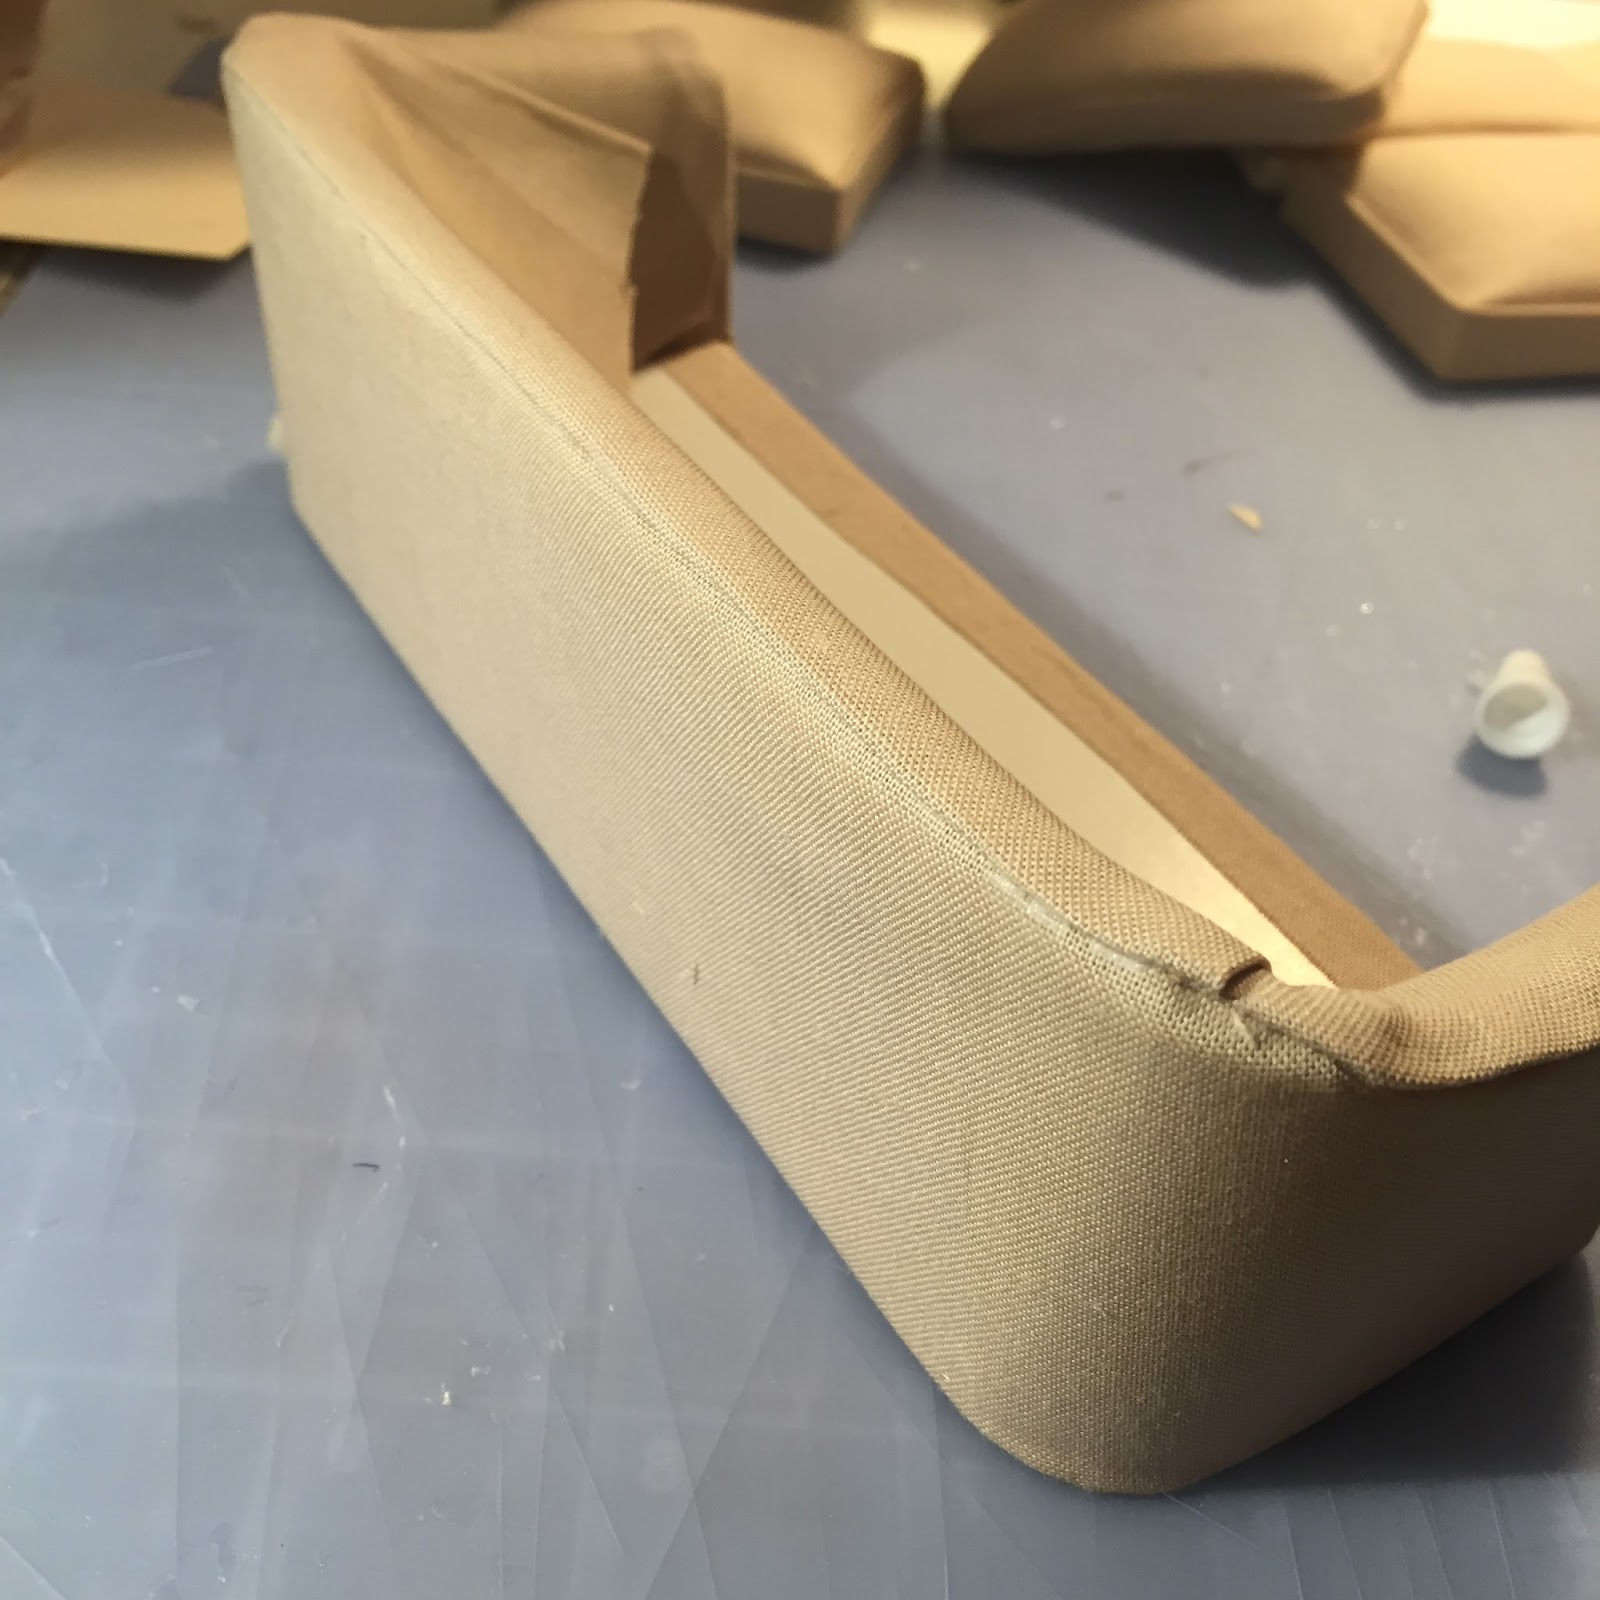
With glue gun attach to one side and continue around to the back and to the other side.
Cut some mat board and wrap it around the top in two layers. Use the glue gun.


Lay the frame on a piece of cereal box about a half inch up from the base as shown. Trace around white wrapping the cardboard around the frame. Cut out the cardboard and glue to the back base and back top of the frame with the glue gun. I made a center mark first on the cardboard and frame so I would lay it in the glue properly.


Glue the sides.

Test fit your cushions.
Add in some thicker cardboard on the inside of the arms then put a piece if foam above it. Don’t go as long as I did. I had to trim the ticker cardboard it to fit in the back cushions. Keep test fitting as your building.

Wrap over the arm with felt. Glue with glue gun. Do the same for the back on the inside only.


I used spray Elmer’s glue on a piece of white cover stock and glued it to the back to cover up the boxes print.
Upholstering:
Check out Kris Compas’ post for detailed instructions on how to upholster.
She has very detailed instructions.
I will briefly explain how I did mine. I used Tacky Glue for this.
Upholster the front base.
Upholster the back by glueing to the front of the arms first and then the underside and then drap over the top and glue on the inside.


Upholster the front of the arms.


Upholster the arms to the inside and the back on the inside to the top edge.


I sewed some throw pillows.
Then cut the legs from mat board and paint them. I made a stencil and glued two cut legs together until I had four.


I hope this helps someone. Ask any questions. I am sure I missed something, it was a lot of work to provide this tutorial. :)


So beautiful, so well done!
ReplyDeleteI've been afraid to tackle a project this big but you've given me hope! I think I will try this even though I'm a bit of a newbie. So clear and beautifully illustrated.
ReplyDeleteBeautiful!! The whole room is lovely! Thank you. I saw this and fell in love.
ReplyDeleteWhat an AMAZING looking sofa you have made! In the first photo I thought I was looking at a 1:1 photo from a design magazine not a mini. The photo of the guy taking a break halfway through had me giggling but the finished results of your sofa are Seriously AWESOME!
ReplyDeleteThank you for all your kind words Elizabeth!
DeleteI love this tutorial, thanks!
ReplyDeleteLove this couch! Great tutorial. And I especially liked the suggestion to keep your blades sharp with a sharpening stone. Thanks!
ReplyDeleteThank you for this! I have been searching for actual measurements on sofas and chairs for 2 days, and this was such a clear and detailed format! All the pictures and the time it must have taken to create this are very much appreciated. When i undertake projects they require so much time in themselves, and i so admire the commitment it takes to document each step as you have. You cleared up my hesitations and thank you for the link to the tutorial that inspired you. I hope all the best of good things
ReplyDeleteyour way!
Great tutorial! I was wondering how you attached the legs to the bottom of the sofa. It looks as if they were glued directly onto the fabric on the bottom of the sofa. Did you use anything to secure them in place other than the glue?
ReplyDeleteI only needed glue. The sofa just stays in the house and isn't used for real.
DeleteYes, I realize that, however mine would be for little girls to play with not just sensible big girls like you.
ReplyDeletehaha maybe you could use super glue along with a pin in the leg and into the foam on the couch base.
DeleteHi Auralea! ♥ This may be a silly question, and i know i'm late to the party here but ... what thickness should the foam board be, at the start? o.O
ReplyDeleteAsking because i visited Michael's crafts shop recently ... and they had at least half a dozen thicknesses to choose from, for foam board. i want to do this right (even though i have some modifications in mind), but yeah ... i need to know the thickness you used first, haha. (Presumably, if there's a foam board twice as thick for sale, that would eliminate the need to double up the foam board for the cushions at the start?)
Thanks in advance for letting me know. *hugs* i'm new to all this and scared of BUILDING a couch. But i'm gonna try! ♥ A lot of prebuilt stuff out there is either ill-suited to our decor, or tatty, or crazy expensive, or just not what we want. Here's to the journey! ♥
I think the standard foam board is 1/4" thick but you could work with thinner.
DeleteHi again Auralea. Can you recommend a source and thickness for the foam itself (in your third and fourth pictures within this tutorial)? I went to Michaels crafts here in Canada, and I showed them your photos. But (bizarrely) they had no foam like this. Thanks in advance.
ReplyDeleteSorry for the crazy late reply! The foam was from packaging. You could even your two layers of felt.
DeleteHow much fabric would you recommend I purchase for this project? This will be my first attempt at making dollhouse furniture! Thank you for the tutorial!❤️
ReplyDeleteI think 1/2 yard would be more than enough. Plus extra for mistakes.:)
DeleteThanks so much for all the detail and great photos! What kind of fabric did you use? Thank you for the reply. Happy miniature making!
ReplyDeleteCotton is best because it holds Tacky Glue well.
Deletethanks for posting such detailed tutorial. I have been searching forever!
ReplyDeleteWat een prachtige bank en bedankt voor je superfijne uitleg. Ga het uitproberen en hoop dat mijn bankje net zo mooi kan worden.
ReplyDeleteWonderful! Be sure to follow me on my new blog https://miniaturesbyauralea.blogspot.com/
Delete