Sunday, May 15, 2016

Dollhouse floors and walls

Because I was trying to keep my budget very small I decided to print my own wood floors. In real life you can’t see gaps between planks and the same with a 1:12-scale print out. 
First I selected a seamless pattern image from the Internet. In some cases I couldn’t find one so I had to make alterations in Adobe Photoshop. Once the files was ready I filled the floor space measurement with the pattern.  
I will be showing how I did this using my Kinfeld hall floor as an example. This was the most difficult because room because I added a border all the way around as I did for the dining room space and this room had the stair hole in it.
I carefully measure the space and set my computer file up as such.

Photoshop has a “layers” option so I built the floor up using that feature.
First I pieced together a herringbone pattern then I added the dark wood trim and the planks outside of that.


Then I printed it out on two legal sheets (my printer won’t go to 11x17).


Then I coated it with a water soluble satin varnish. Because this is an ink jet print it will smear when it gets wet. You can spray it with a fixative (like one that is used for charcoal drawings) if you like, but I just went for it.
I made fast brushstrokes keeping the varnish thin with no thick streaking. Once dry, I took my time and did a complete coverage with a second coat and let it dry.

I cut to piece it together along the wood pattern lines. So the cuts were between the planks.


I used Yes paste to adhere it to a very heavy water color paper. For the downstairs dinning room I adhered it to mat board. 
Yes paste is tricky when you have to butt join two piece together, so practice first. I use this adhesive for my mixed media art because once it’s down and dry it won’t peel up over time.
Scoop a credit card in the jar and spackle it down over your paper in a thin layer. Be sure to go over and off all the edges. If it does peel it will be because you didn’t hit the edges. 
Burnish it down with a credit card over a pice of wax paper. I place a sheet of wax paper and heavy books on it over night.


Once it’s dry and flat, trim out the watercolor paper with the floor print on it and placed it inside the house using more Yes paste or wood glue. Lay wax paper over it and burnish it down with a credit card. Lay something on it as it drys to be sure it’s flat.

I had some white showing through a section of the join so I used some pastels to cover it and varnished over that.

Walls


If you are building a foam board house you will need to adhere something to the wall verses simply painting it. This is because, depending on the paint, the paper covering the foam may ripple. Also because the corners may not be neat and flush depending on the way you built the house.

I used a few different types of paper as I experimented. The first was thick watercolor paper. I needed a long sheet to fill my walls so there wouldn't be seams, so I used a 50% off coupon and bought a big pad of it.

I also found a cool paper called canvas paper. It is lighter and easy to work with. They both take paint nicely. Once you paint them and it’s dry lay heavy books on it to flatten.

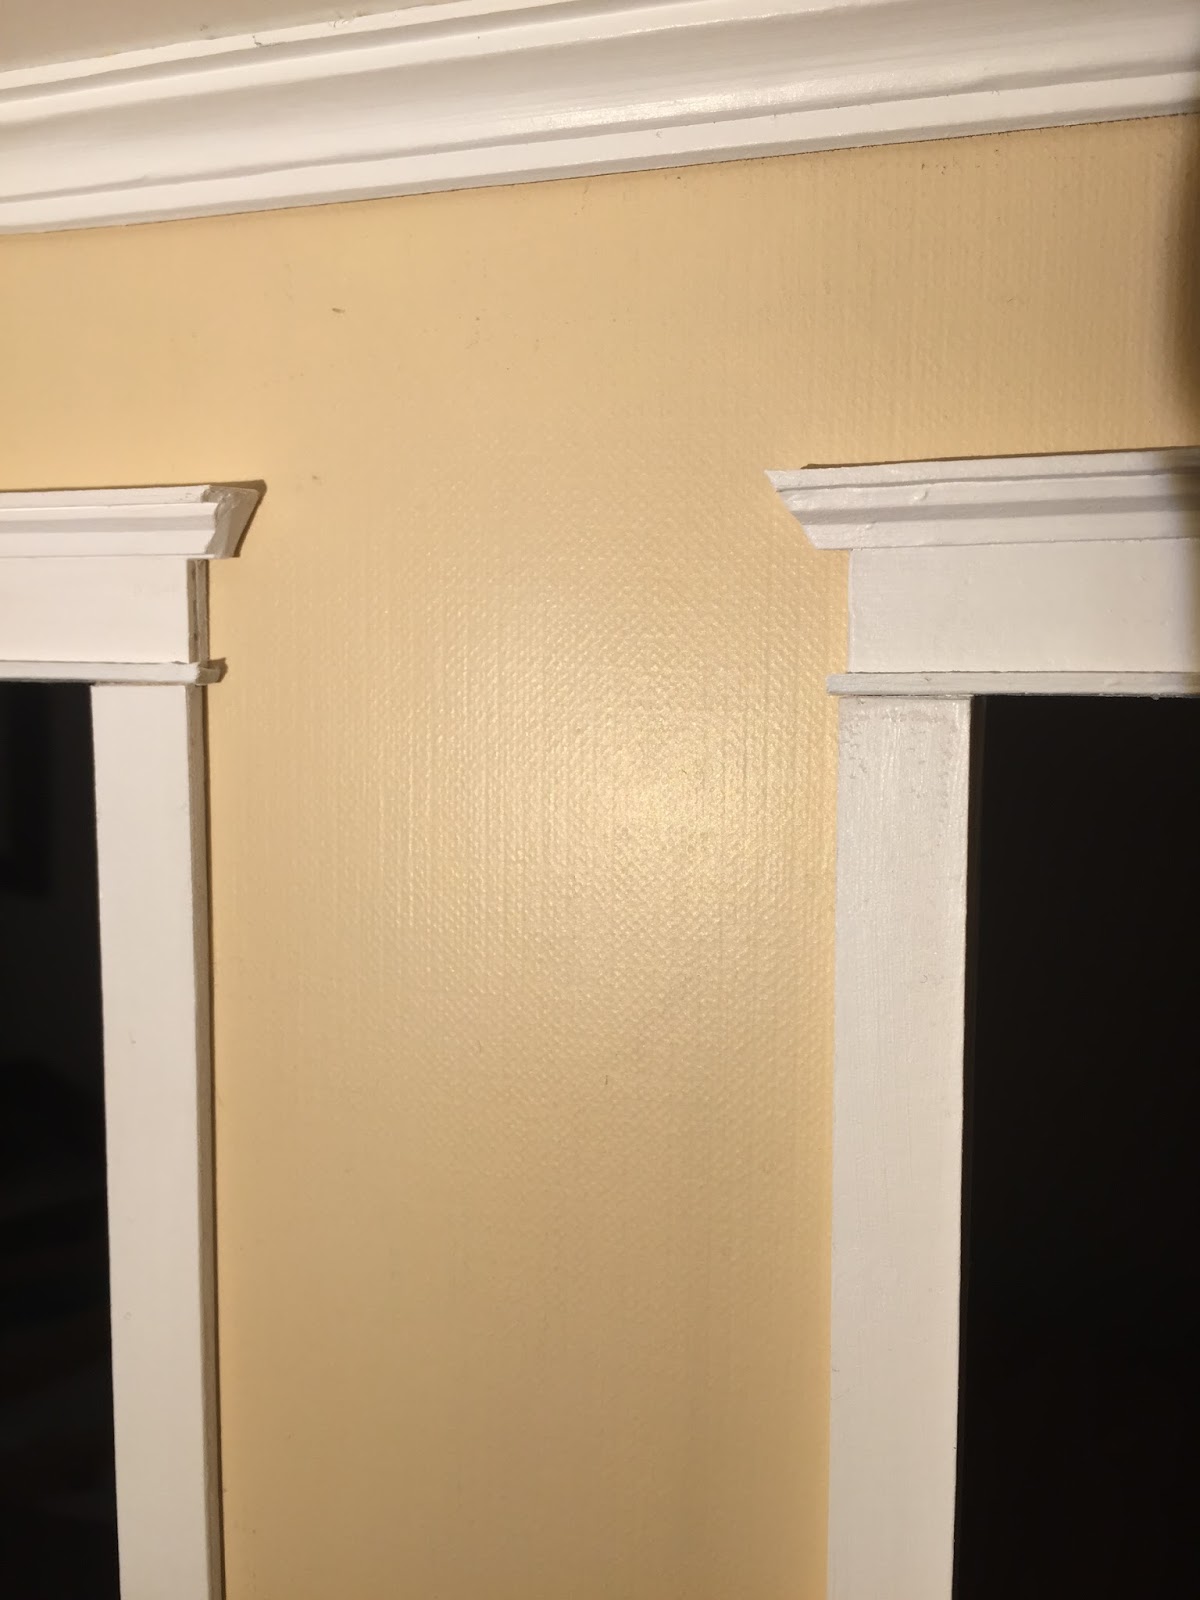
Above it the texture of the canvas paper. I used the side with the least texture.

Below is the texture of the water color paper.


Use Yes paste as explained in the floor post and adhere it to the walls. 
Trace and cut all your window and door holes before you glue it in. 
Below is canvas paper being prepared. The end is folded because each corner needs to overlap under the next piece so you don't have a gap.


You can see some rippling below. This is why you need to place a heavy book or lap top in it over night.

This is the finished master bedroom. I printed the patterned wallpaper on the right on regular copy paper and sprayed it with a spray adhesive on the back of it and put it up.


Totally dig this carpet! It is upholstery fabric. Joann has some great sales, so check in there between seasons. I also got 5 of those sample upholstery books on clearance for $5 each! About 10 square samples in each book. Gold!

I hope some of this helps. As always, get in touch if you have any questions. :)

Sunday, March 13, 2016

Dollhouse fireplace


I built the fireplace solving one problem at a time. I had no idea how I would do it so I found a photo of a Victorian fireplace and used elements from it. I didn't think ahead so that I wouldn't get overwhelmed. I used matboard, card stock, spakling paste, wood glue, jewelry elements, packing tape, blue tape, gold gel pen, craft paint and spray paint.


I got the flickering battery operated fire logs from Mainly Minis on eBay. They are great! They have a small on and off button on the wire that I can slip under the outdoor side porch.
I had to cut 1/4" off the resin logs using my bandsaw. Thank goodness it was a smooth and easy cut!

Despite the fact that I had to bypass a lot of wonderful details that were in the original fireplace that inspired me, I still dig it! After all, I like to look at creating miniatures as creating an illusion. Once all the furniture and accessories go into the room I won't see all the small things that could have went better in the build.

I will be making a fireplace for every floor and they will get more elaborate and antique as I go up.


Dollhouse door hinge tutorial


This is smaller than normal door because it is a door in the back of the stairs, but you can use this same idea for your own handmade interior doors throughout your dollhouse.
If you will be opening and closing the doors a lot then I would recommend something more durable than card stock.

Cut a piece of 24 gauge wire to the height you want your hinge to be.

Cut a horizontal piece of card stock at the same height and about 1 inch wide.


Use a toothpick to put wood glue in the center of the card stock piece.
Use your tweezers to drop the piece of wire onto the wood glue.
Press it down with the tweezers.


Use your toothpick to put a tiny bit of glue on each side of the wire.

Fold the piece of card stock over the wire and use your tweezers to pinch in close to the wire to get the paper secure around the wire.


Quickly open the paper back up and press flat on a surface and be sure the paper is straight. Don’t wait too long or the paper will be glued together.
Let this completely dry


Determine the thickness of your door and cut the hinge to that width.


Paint your hinge front and back the color you would like it to be.
(I choose to paint mine shown here after I had glued it to the door.)

Glue one side of each hinge to the door where you want the hinges to be
Keep the hinges open so that the glue doesn't seep through the paper.


Once they have dried put glue on the other side of the hinges and glue that to the inside of your doorway. 

Brace with paper shims if needed until it is dry.

The card stock will be pretty durable, but you can also paint the paper with Modge Podge to add some strength.


Friday, January 22, 2016

Dollhouse wainscoting


First, I drew out the design on card stock. Standard wainscoting is 3 foot tall so in 1:12 scale that's 3".


Then I cut the mat board to size and glued it onto the card stock with wood glue. Then filled in any gaps with a light spackling paste.

For the base molding, I used fine sand paper to round the top then made two slices with a craft knife at an angle and pulled out the center strip leaving a small gap.
Spray-paint the entire thing with an enamel paint. This is really important because if you don't the card stock will ripple when you paint it with a water based craft paint.
I painted mine with satin Behr paint because I had it left over from my real house.


Put wood glue on the back, but only behind the mat board. Again, if you put it on the card stock it might ripple.


There it is!

William Morris wallpaper. I have loved William since I discovered him back in art college. He was an amazing designer so I always try to have at least one wall in each dollhouse of his design.


As always, I hope this will help others bring their little dream house to life! :)

Monday, January 11, 2016

Finished dollhouse stairs


I made the railing with paper clay. First I made a long tube of clay and placed it on the spindles, pressed it in, and shaped it. Once it dried I sanded it with sandpaper and carved at it with a knife, glued it onto the spindles, and because this clay shrinks I added more to the end where it touches the post along with some wood glue so it wouldn't pull away as it dried. 
Once dry and sanded I painted that end with the dark wood stain that I used on the post and then highlighted it with a lighter brown acrylic paint.

The rail cuts off before the last spindle on the second floor so I can add to it once I get up there.

Click here to read how I did the rest.

Ah I'm so happy! That was the one part I was worried about. The rest will be fun, fun, fun!