Saturday, August 20, 2016

Dollhouse roof shingles


I started with sheets of black poster board then realized buying a stack of 8 1/2" x 11" black card stock would be less $.
I taped them together, then flipped them over.


Last week it hit me while at the craft store that I could use this stone spray instead of the painted sandpaper I had been prepping for my roof. After some deliberation I trashed what I had and started over.

I decided on black paper as the base because when you see a real shingle there is black underneath.


Here is the photo I took of the sprays. I had used these for full scale things before and forgotten about them.


I was put off because no matter what I did I couldn't get an even coverage. I have spray-painted many things in my life and always had even results. So not sure what is up with this stuff.
But it turned out for the best because I do prefer a roof with different shades of shingles.


First I cut 1" tall strips on their backs.


Then I measured every inch and cut a slit with a knife and then cut out with scissors.


Wood glue on the shape of my roof piece.


I marked a scrap board at 1/2" to be sure each line is equal.


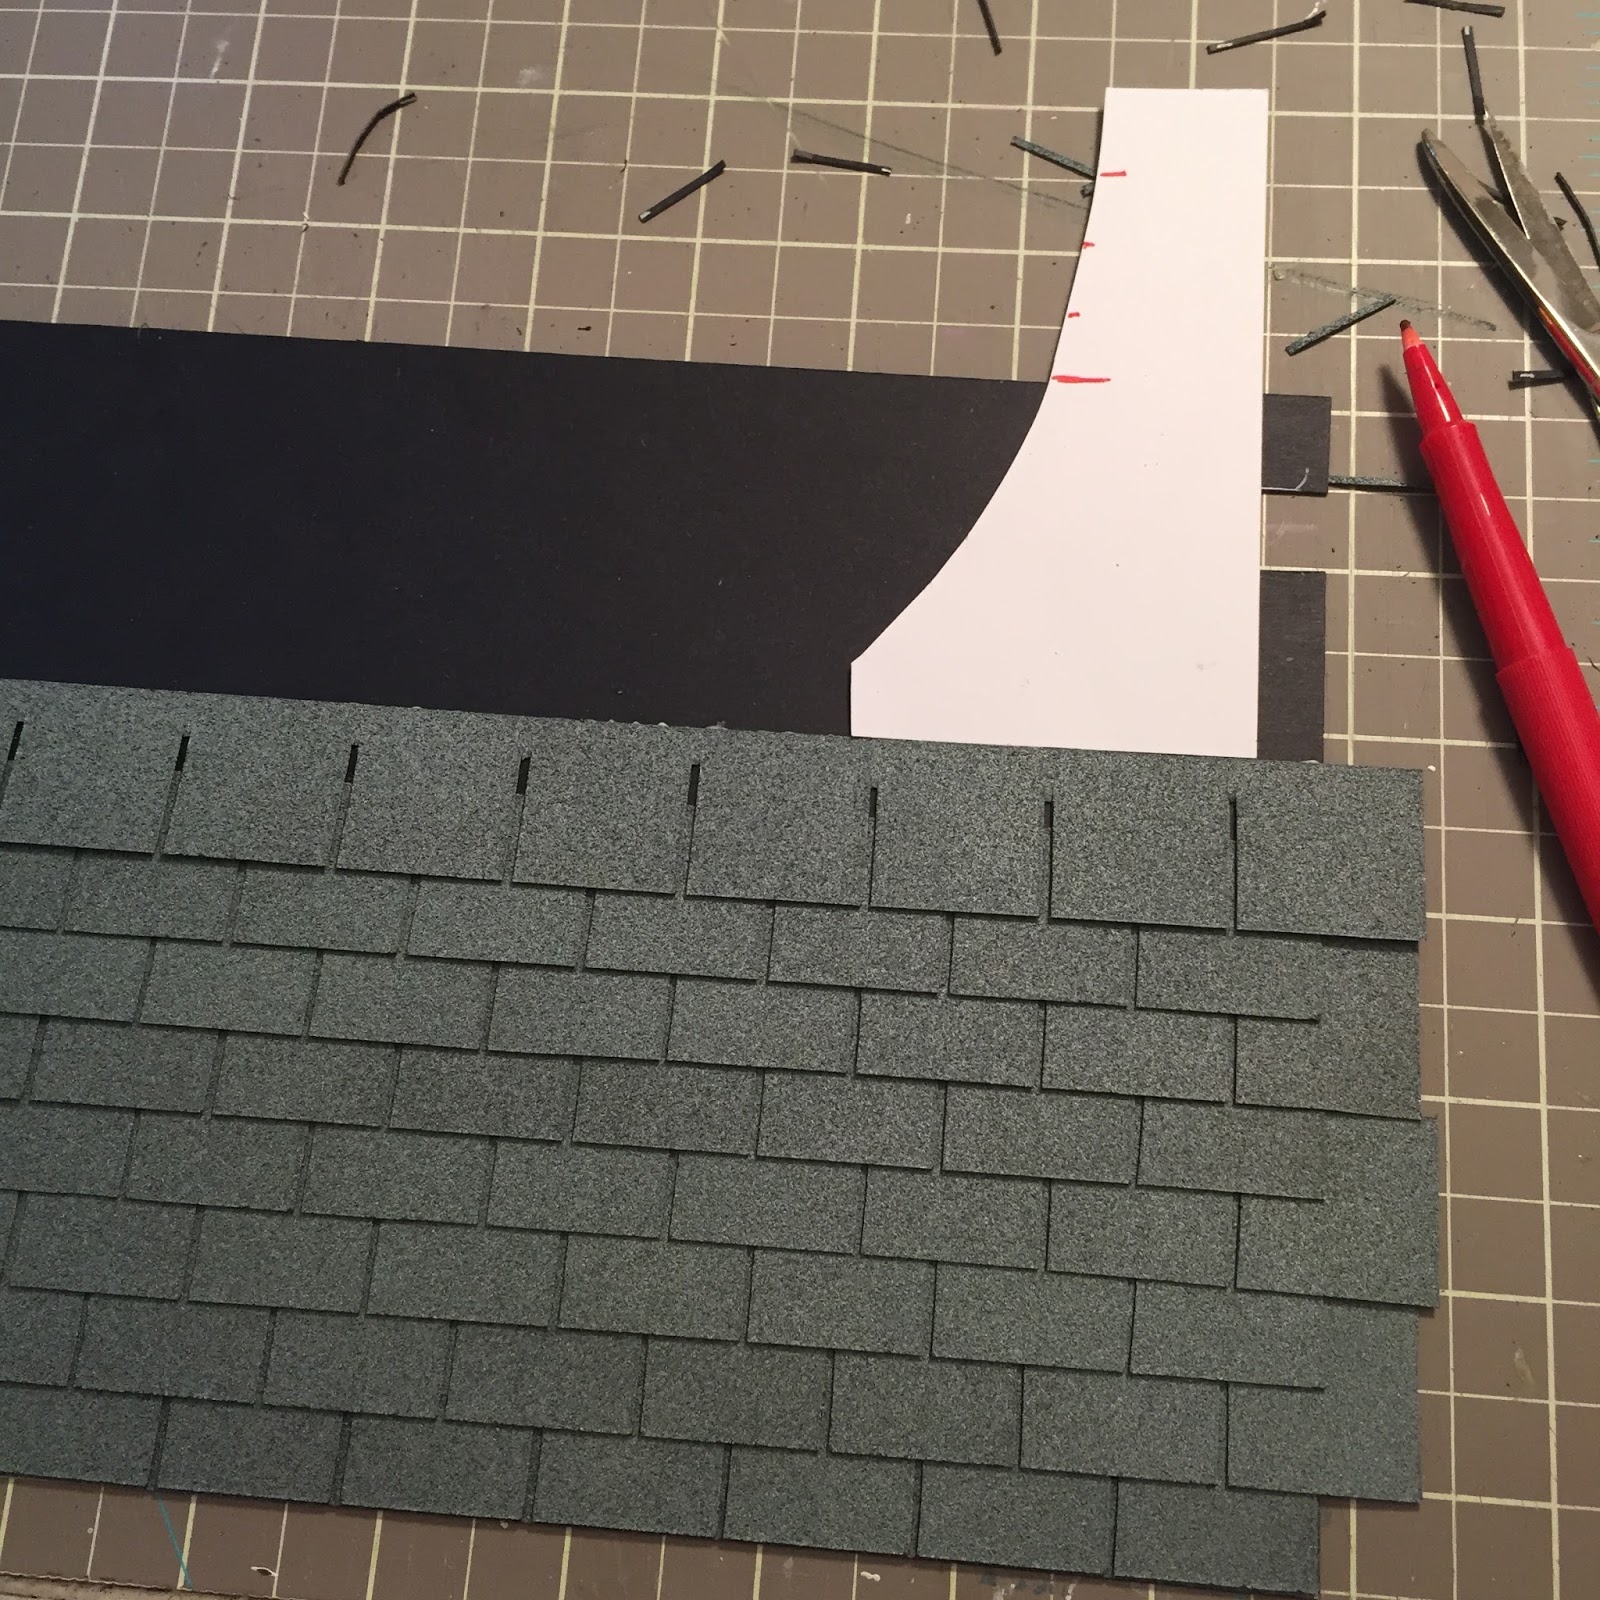
As I got to the top I checked my lines to be sure I was even with another scrap of paper.


Once its dry I flipped it over and trimmed it.


Then I used those scraps in the top lines.


Glued the sections on with wood glue!


I didn't stager the discolorations on the left side. So I have started to break apart the strips now so the discoloration isn't so uniform.

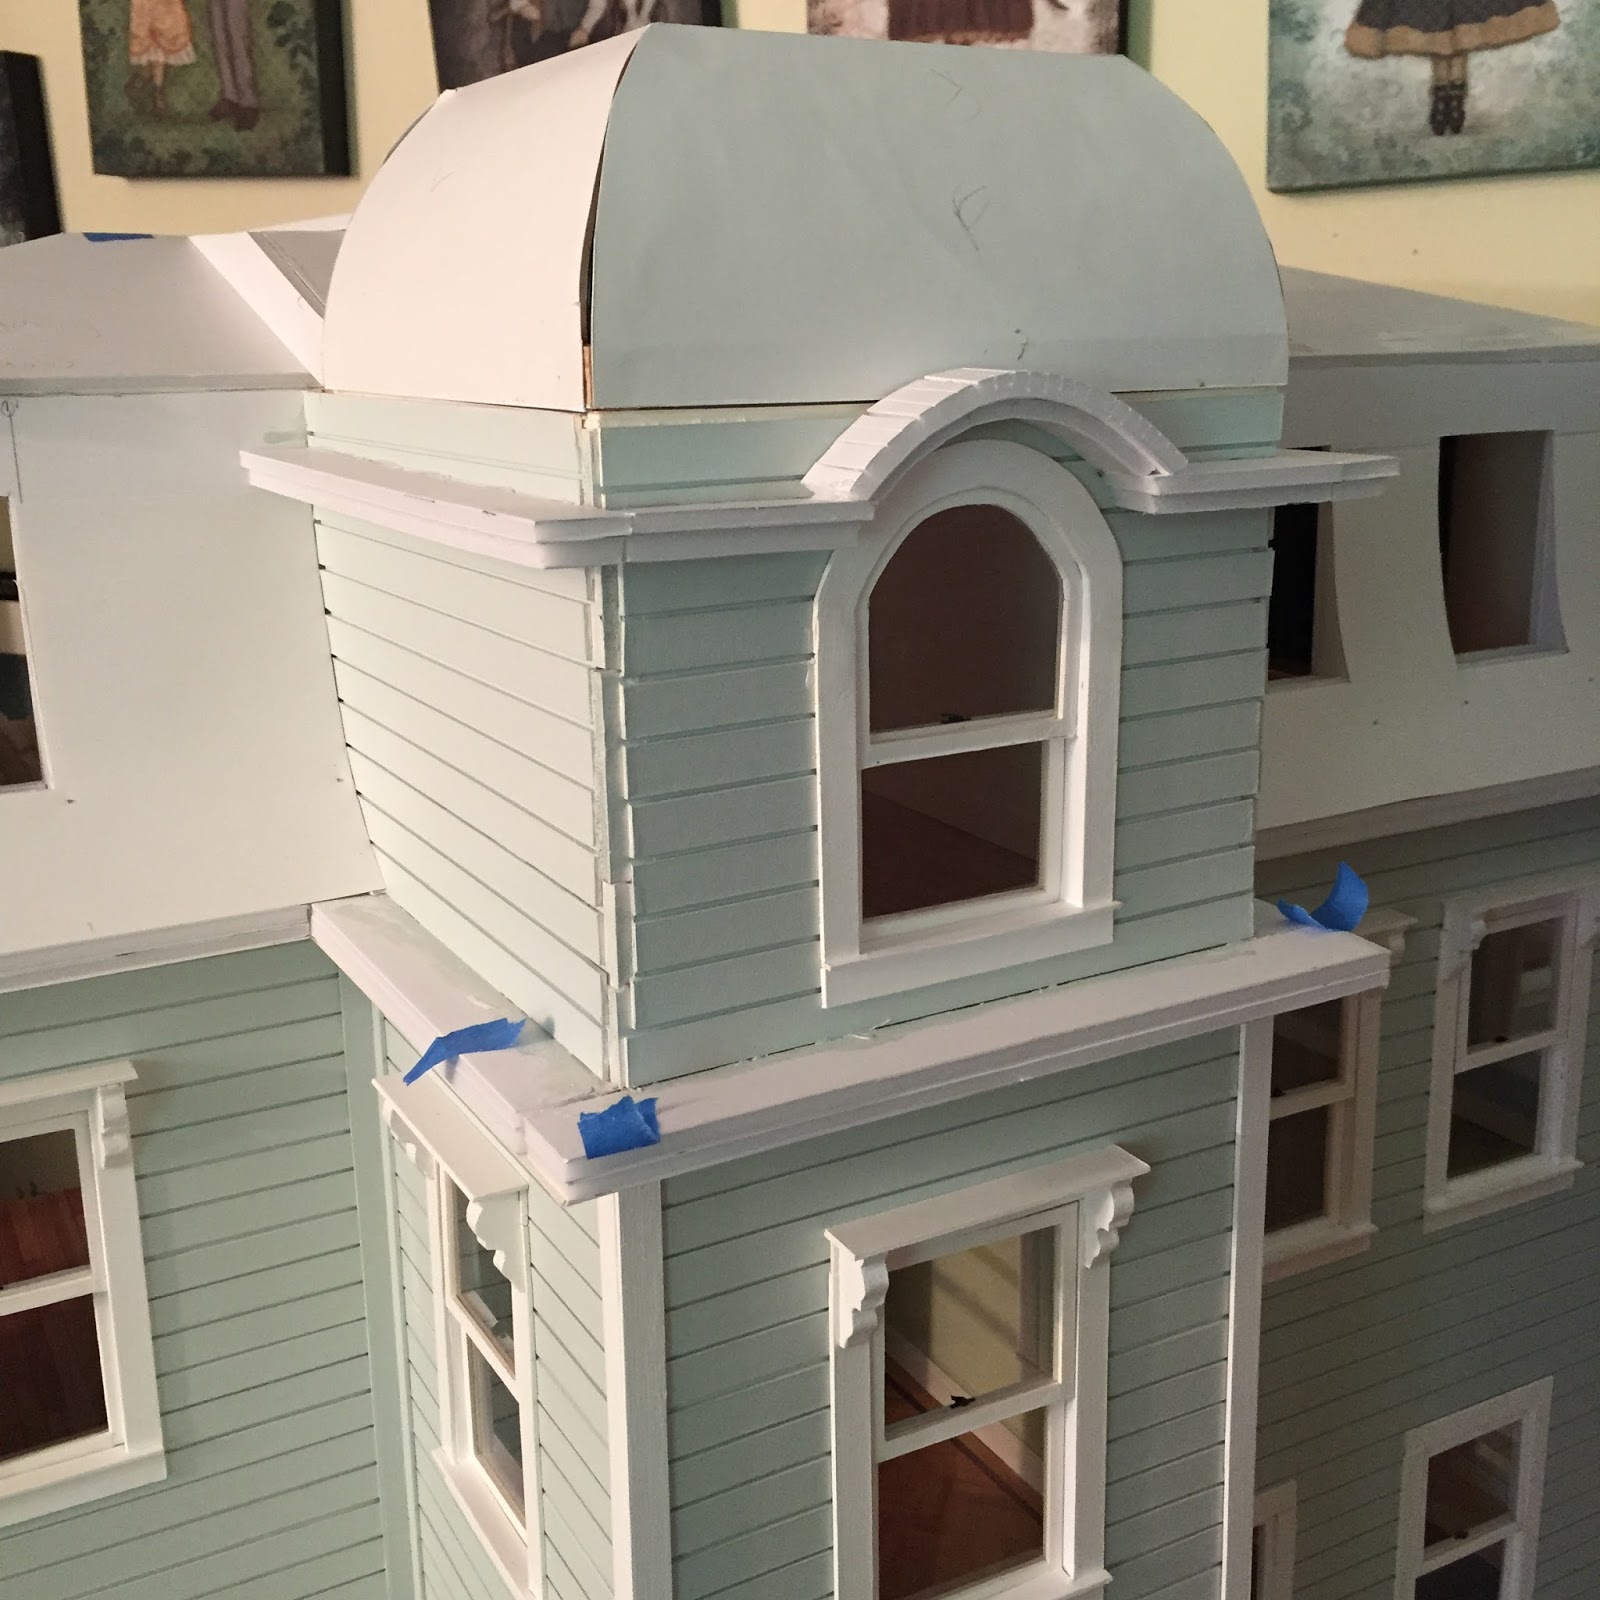
The corners will be white trim. Lot's more to do!

The tower will be scalloped tiles.

Wednesday, August 10, 2016

Kinfeld progress thus far


(The art in the background are mixed media pieces I did for my book.)


The white bar table on the left is also used for roof support. I will make two bar stools to tuck under it. This attic room will be for the college student that has not moved out yet.


 Still have to glue the molding up that I had to rip off for a tower readjustment.


I will be making the fireplace flush to the wall once I get to it.


Wish I had it in me to make custom cabinet but these will have to do. I pulled them from another house I sold. With the backsplash and counter update they look alright.


Those bay windows will be getting a small roof over them.


I gotta say I love my windows!


The stairs pulled away from the wall when I finalized the dining room. Not sure I can fix that but we shall see.

Dollhouse tower

The tower base took a lot of planning because it had to be nice from up inside it (serving as a ceiling) and also a sold structure for shingles.

I started with a foam base shown here, then framed that with wood.
Then cut out another smaller piece of foam and framed that with wood.
Next I made a temporary foam box to place it onto to get my height.
Finally I drilled holes in the wood corners and bent wire to go in them and then tucked the other end inside the foam board corners.


I figured out the corner curve and cut pieces of poster board out. I glued the poster board to the wood frame and then wrapped it over the wire and glued it to the top. (I scored the top section of the poster board so it would be neat and square when glued)

Then I removed the foam box and flipped over the structure as shown below.


 I glued in some scrap foaming material all around to get some height inside. Then slide in some cut pieces of card stock. (Blue wood was old scrap molding for a house I sold long ago. I love it when I can use up scrap materials!)


This is funny...I accidentally cut pieces of poster board instead of card stock to put on top of the existing paper and thank goodness because my plans changed with this thicker paper. Instead of tucking it in under the wood frame as planned, I glued the paper to the frame. (I couldn't tuck it without creasing it.) Shown below on the right is the first piece that went in.


This turned out better because this will be a ceiling and now there isn't a strange space up inside. I know this is confusing because the tower cap is upside down in the photo.
Anyway, below shows the ceiling looking up at you. I trimmed it with mat board and spray painted it.


Here is the tower base in position. Shingles will cover everything from the top down to that ledge.


For the ledge curve I cut one side of foam board and bent it. Then glued two together to match the ledge.


Still have to work some things out here and then wrap with a few layers of card stock to get it smooth.


The tower top went much faster. I glued three pieces of foam board together in descending sizes.
Then determined my tower cap size and glued two together for that.
Then I built the box and glued the cap on top of it and glued the box to the tower base.


Once dry, I cut curved braces for each side and wrapped heavy paper on each side securing with pins. I determined the curve, took off, cut, and glued the paper onto braces and pinned for extra security.


That base was the one thing that worried me about this entire build and I got through it!
Next I will start the shingling then add all of the trim detail on the roof and tower.
Thanks for your interest. As always I hope this blog/build inspires you!